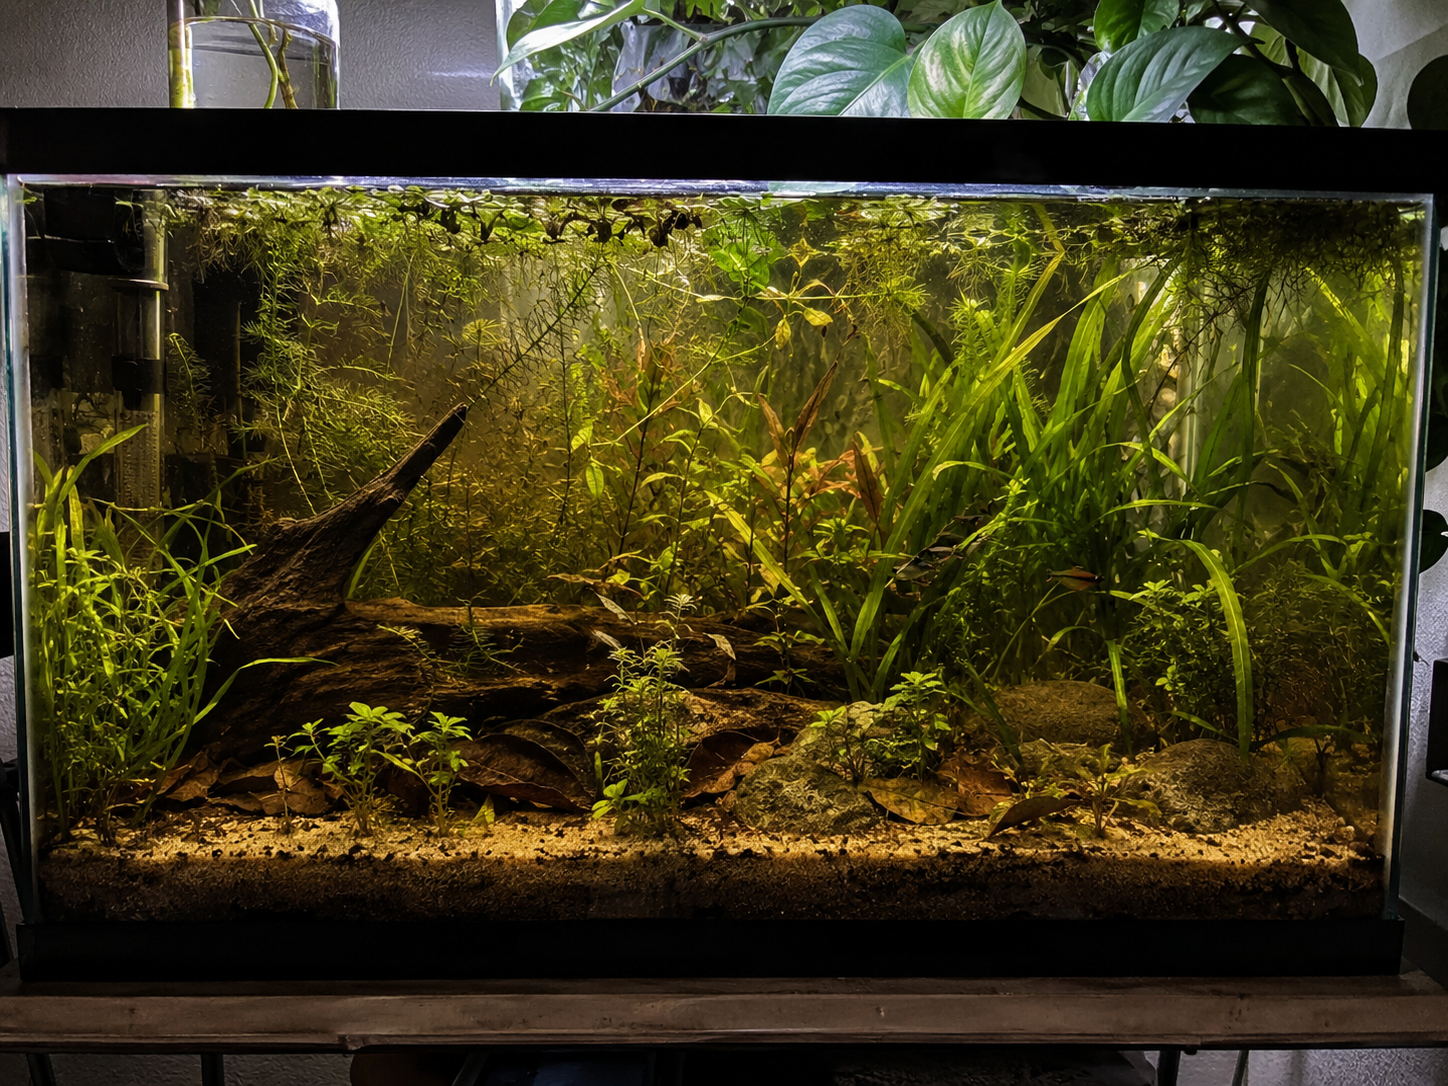
Most planted tank advice comes with a list of requirements: pressurized CO2, specialized aquasoil, a fertilizer dosing schedule, a pH controller. Diana Walstad looked at all of that and asked a more fundamental question — how do plants grow in nature? No one is injecting CO2 into a pond. Her answer became a book, Ecology of the Planted Aquarium, and a methodology that has been producing low-maintenance, self-sustaining tanks for decades.
The short version: a layer of plain organic soil, capped with sand, planted densely, and left mostly alone. I’ve found that this method works wonders, and is how I like to start every single one of my tanks.
How the biology works
Soil is not inert. It contains bacteria, organic matter, and mineral nutrients that feed plants directly through their roots. In a conventional planted tank, you strip all of that out with inert gravel and sand and then try to add nutrients back through liquid fertilizers, root tabs, and CO2 injection. The Walstad approach works with biology rather than against it.
The key exchange happens at the soil-water interface. Organic matter in the soil breaks down slowly, releasing CO2 and ammonia into the substrate and water column. Plants — especially those with root systems — intercept that ammonia before it can accumulate to harmful levels. Algae loses because the plants are faster. Fish waste adds to the loop. Over a few months, the tank stabilizes into a genuine ecological cycle: soil feeds plants, plants process waste, fish contribute nutrients, repeat.
This is not magic. It requires the right plants in the right density, proper setup, and patience through a few weeks of initial messiness. But once established, Walstad tanks famously run for years on nothing but a top-off for evaporation and an occasional water change.
Choosing your soil
This is the step people overthink and the one that actually matters most. The requirements are specific:
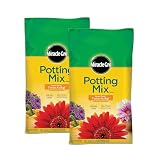
Use a plain organic potting mix. You want something with composted organic material and no synthetic fertilizer, no moisture-retaining crystals (the gel beads), and no large chunks of perlite. Perlite floats — it will migrate through your sand cap within weeks and cloud the tank.
Miracle-Gro Nature’s Care Organic Potting Mix is the most widely used option in the Walstad community. It has a fine texture, no perlite, and its organic nutrient content is exactly what you want feeding a root system. Avoid the standard Miracle-Gro All Purpose, which contains slow-release synthetic fertilizer pellets that can cause ammonia spikes.
Spread it 1 inch deep across the entire bottom. No deeper — deeper soil increases the risk of anaerobic pockets forming, which produce hydrogen sulfide and can stress or kill fish and plants.
The sand cap
The cap exists to keep the soil contained and prevent it from clouding the water column during planting and maintenance. It also gives roots a clean medium to grow through while the soil stays undisturbed below.
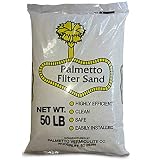
Pool filter sand is the standard choice. It’s cheap, inert, neutral pH, and available in large bags at hardware stores. Rinse it in a bucket until the runoff runs clear before adding it to the tank — it always comes with silica dust that will cloud your water if skipped.
Spread the sand cap 1.5 to 2 inches deep on top of the soil. You need enough depth to anchor plants and prevent the soil from disturbing easily during water changes. Black or natural tan sand both work; use whatever suits the aesthetic.
Do not use gravel as your cap. The gaps between pebbles allow soil particles to migrate upward constantly, and fine roots from smaller plants won’t anchor properly.
Planting strategy
Density is everything in a Walstad tank. The reason these tanks stay clear and algae-free long-term is that plants occupy every available niche — they consume nutrients faster than algae can establish.
Plant heavily from day one. A sparse Walstad tank will have a rough first two months; a densely planted one will cycle through the initial period much faster.
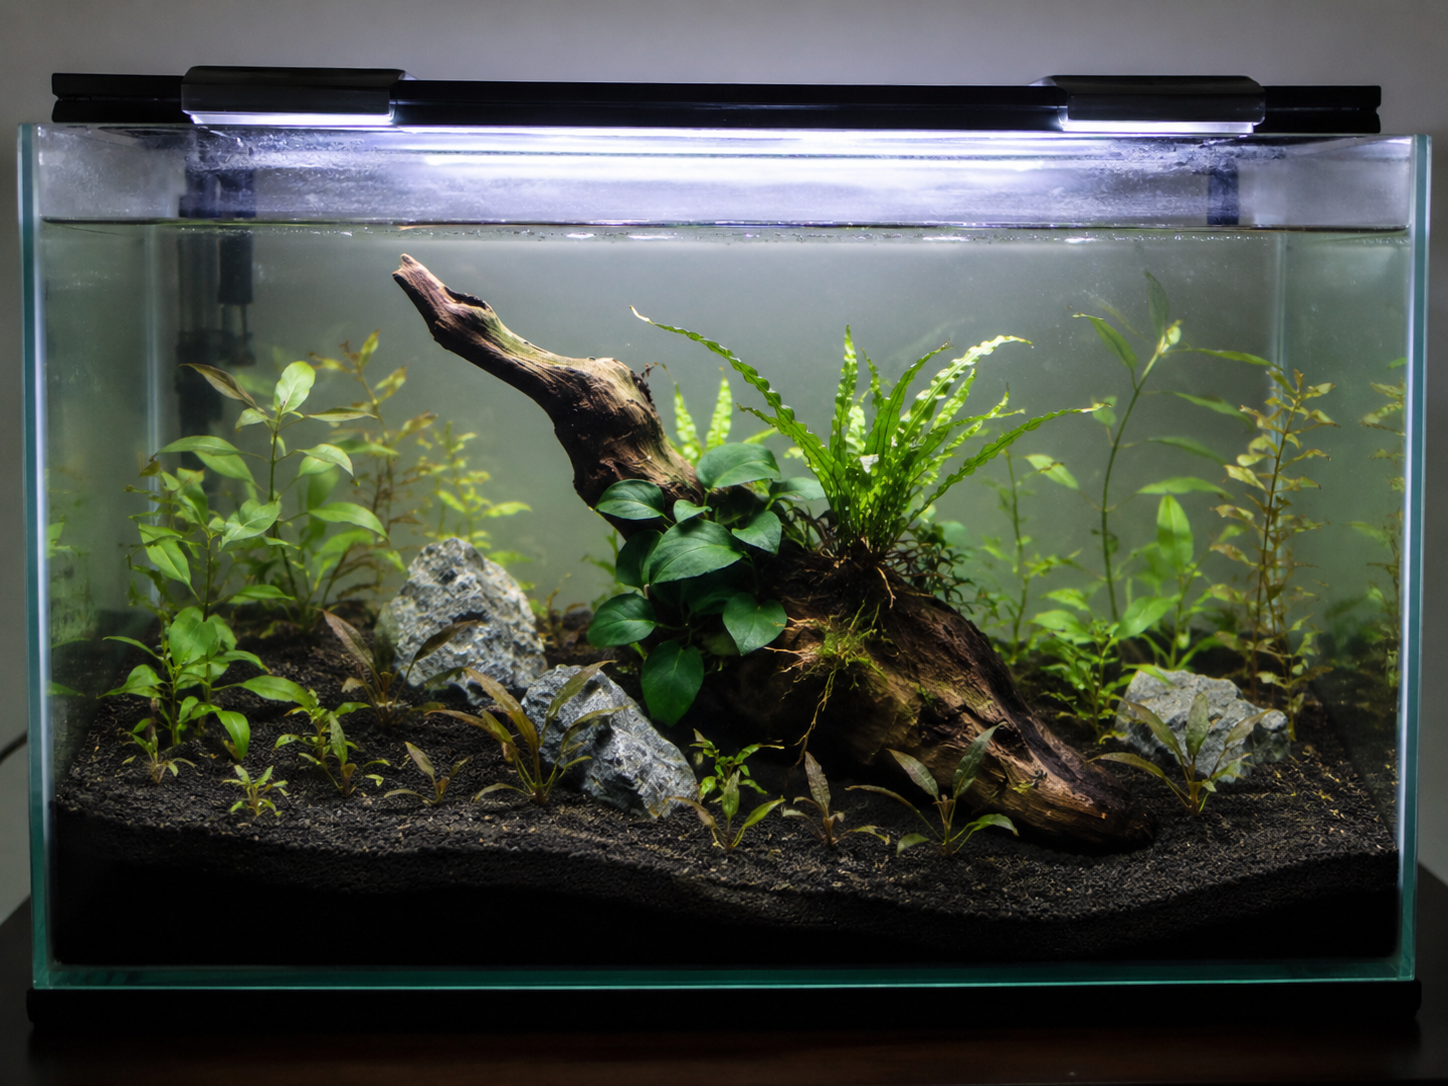
The best plants for a Walstad setup are root feeders that work directly with the soil:
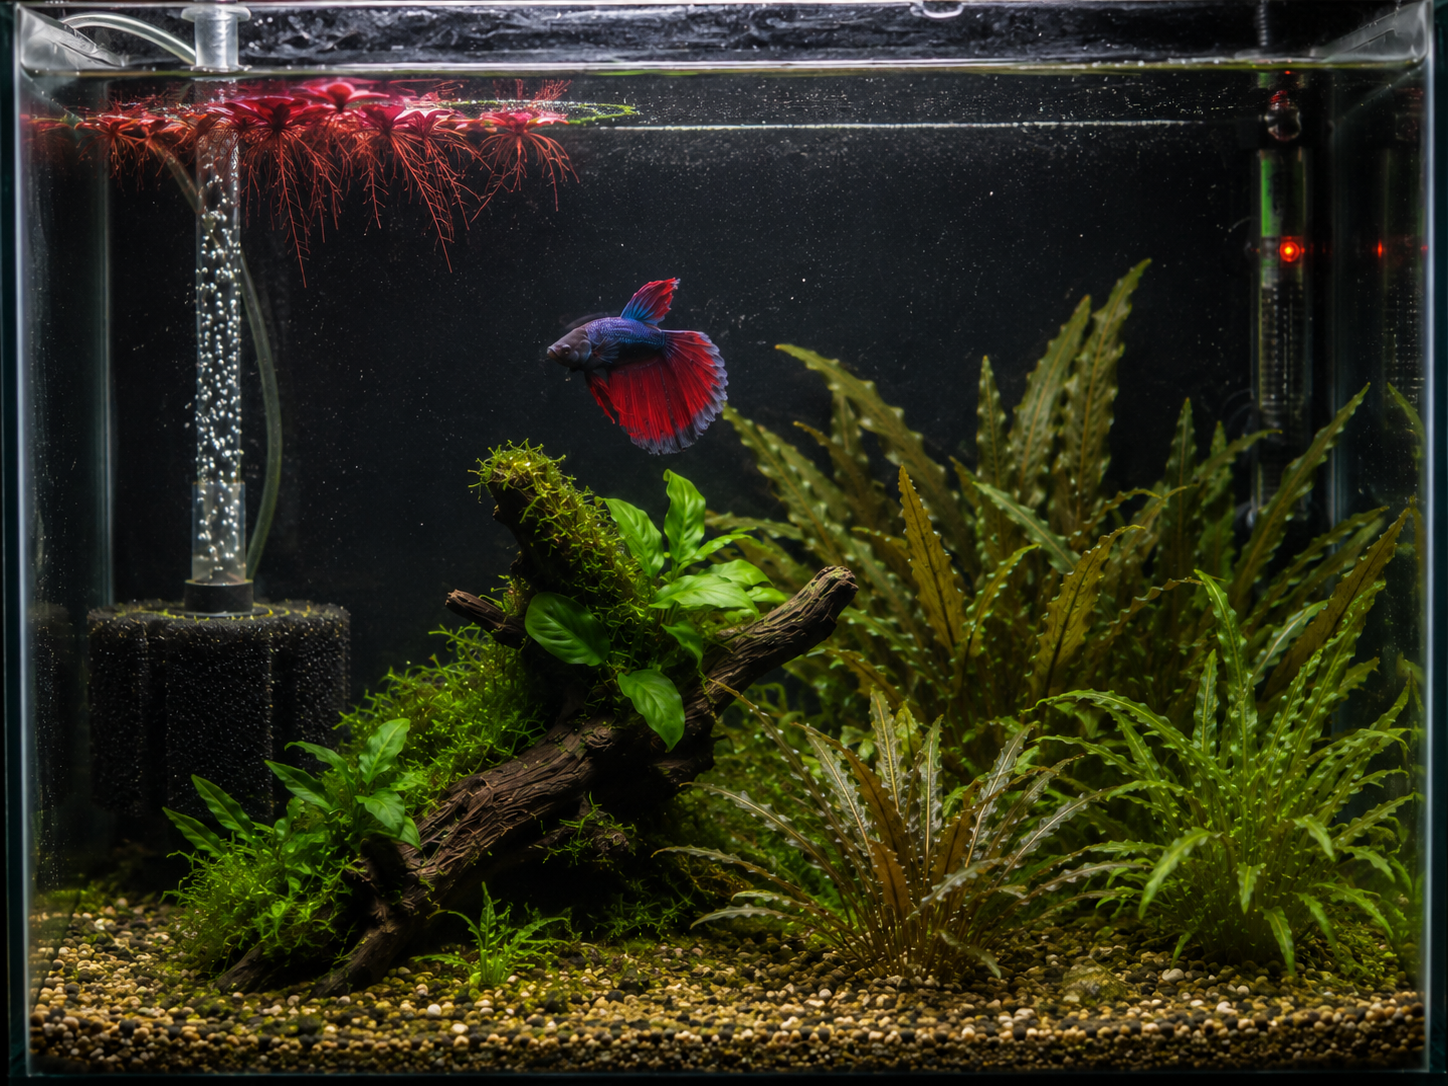
- Crypts (Wendtii, Parva, Undulata Red) — slow, structural, and deep root systems that tap the soil directly. They are arguably the defining plant of a Walstad tank.
- Amazon Swords — large root mass, grows vigorously in soil, excellent for midground or background in tanks 20 gallons and up.
- Sagittaria subulata — a grass-like runner plant that spreads across the foreground, binding the sand cap and leaving no open substrate for algae.
- Java Fern and Anubias — not root feeders, so they don’t directly benefit from the soil, but they add structure and tolerate the varied conditions of a new setup.
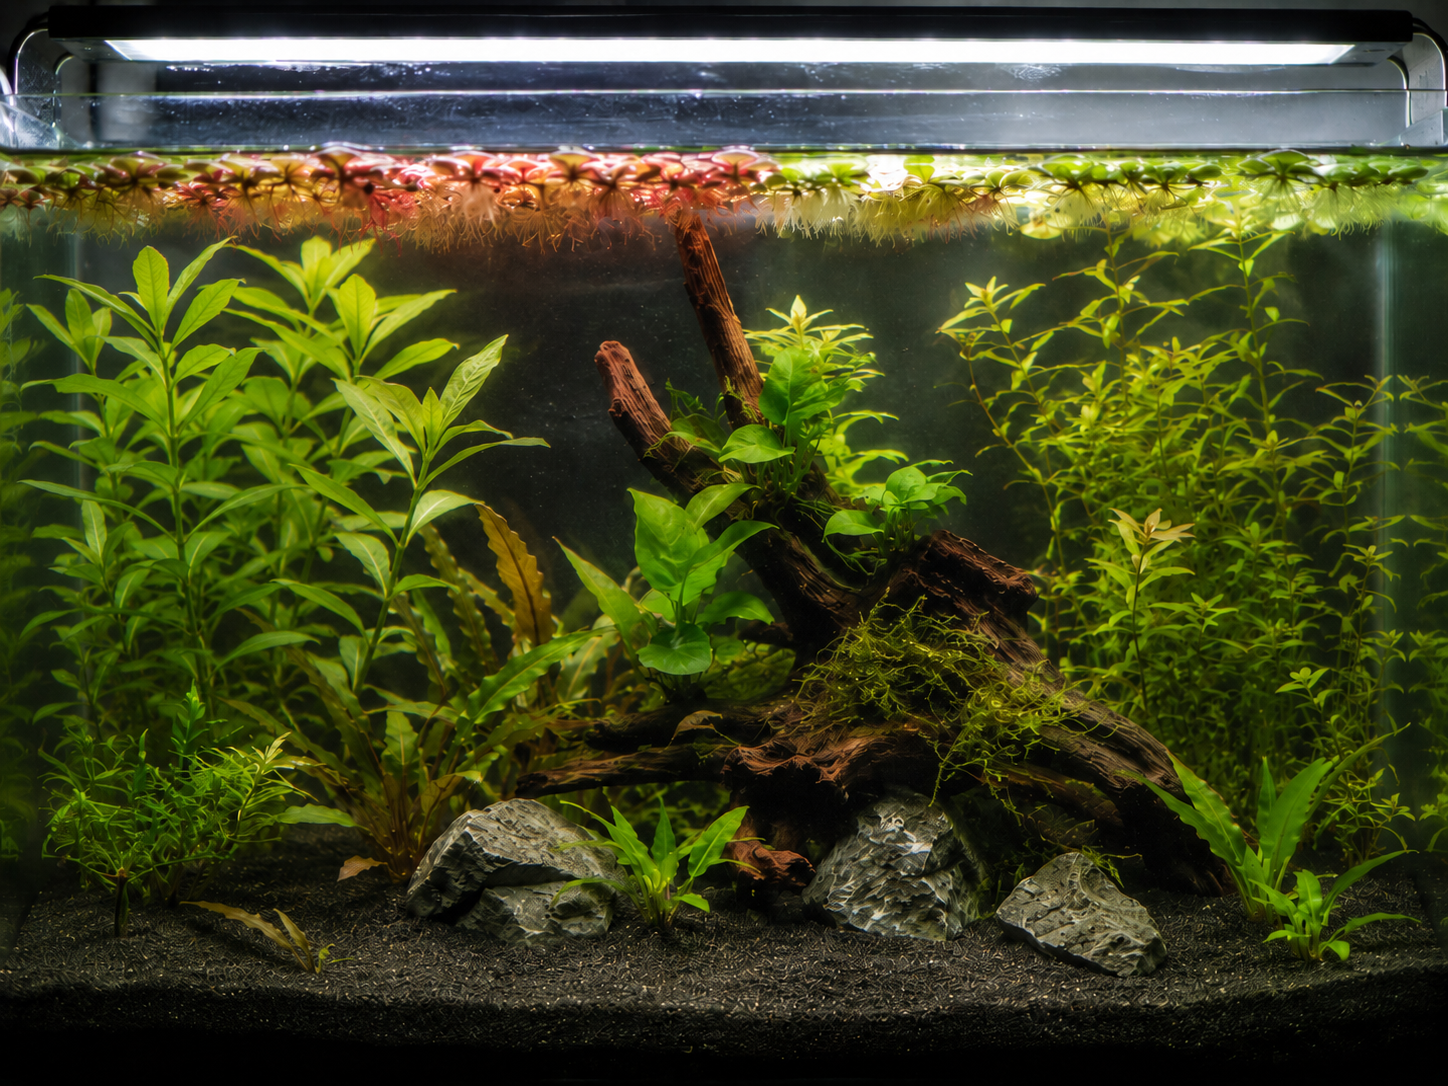
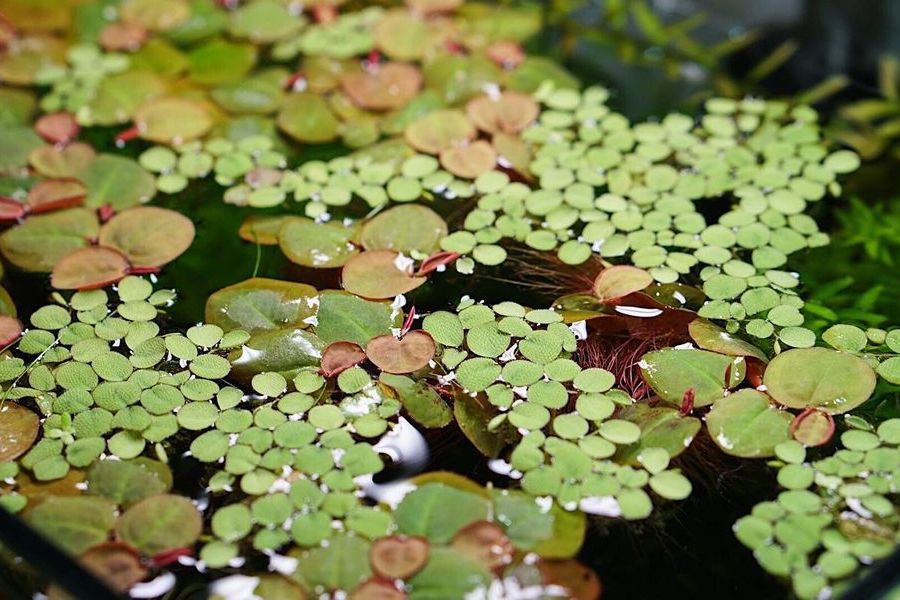
- Floating plants (Frogbit, Amazon Frogbit, Red Root Floater) — critical for the initial weeks. They absorb ammonia and nitrates from the water column directly, shade the tank to slow algae, and cover surface gaps that would otherwise allow uneaten nutrients to fuel algae blooms.
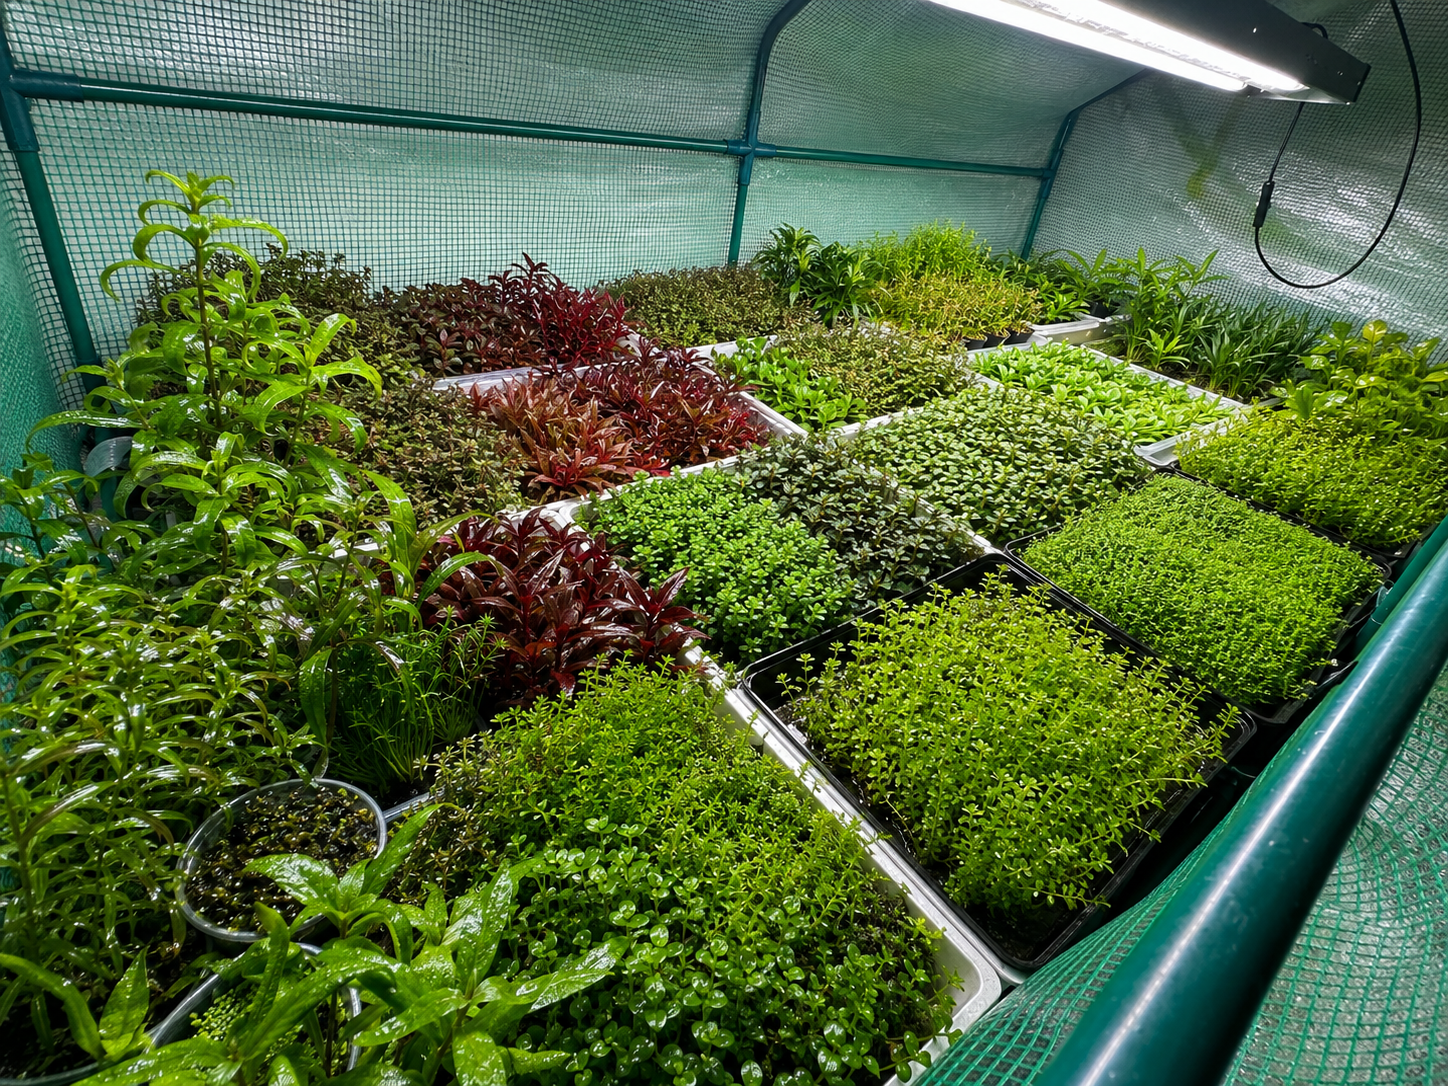
Stem plants like Hygrophila and Bacopa work well too, especially early on when their fast growth rate helps consume the initial nutrient flush from the new soil.
The first six weeks
Expect some chaos. This is normal, expected, and part of the process.
Week 1–2: The soil releases a flush of nutrients and CO2. Water may cloud slightly. Some tannins may leach if your soil contained organic wood material. Run the filter and do not disturb the substrate. Top off with dechlorinated water as needed.
Week 2–4: Algae may appear — usually green dust algae on the glass or some thread algae on plant leaves. This is the tank finding its balance. Add more floaters. Do not do large water changes, which reset the cycling and extend this period. A small top-off replacing only evaporation is ideal.
Week 4–6: If planted densely, the algae retreats and the plants begin showing new growth. Crypts may melt and regrow. Stem plants will start growing toward the surface. The tank clears.
Do not add fish until the ammonia and nitrite tests consistently read zero and the tank has visibly cleared. In a densely planted Walstad setup this typically takes three to four weeks.
Ongoing maintenance
Once mature, Walstad tanks require remarkably little. Many experienced keepers go months between water changes on an established setup.
What you actually do:
- Top off for evaporation — plain dechlorinated water as needed, typically every few days.
- Trim stem plants when they reach the surface. Replant trimmings to maintain density.
- Remove dead leaves before they decompose into the water column.
- 50% water change every 6 months is the guideline Walstad herself recommends to reset accumulated minerals. Some tanks go longer.
What you don’t do: dose liquid fertilizers, add CO2, run a complex filter, or obsess over parameters. Crypts will grow. Swords will multiply. The floaters will cover the surface.
Is it right for a betta tank?
Yes — with one caveat. Bettas prefer calm water. Keep the filter turnover low (3–4× tank volume per hour, aimed to break the surface gently) and let the biological filter in the soil do most of the work. The reduced need for strong mechanical filtration actually suits bettas better than a conventional setup with high flow.
The soft, warm, plant-heavy environment is genuinely close to a betta’s natural habitat in Thai rice paddies — which, not coincidentally, are essentially open-air Walstad setups.
Quick setup checklist
| Step | Detail |
|---|---|
| Soil layer | 1 inch organic potting mix (no perlite, no synthetic fertilizer) |
| Sand cap | 1.5–2 inches pool filter sand, thoroughly rinsed |
| Planting | Dense from day one — crypts, swords, runners, floaters |
| Cycling | 3–4 weeks minimum before adding fish |
| Water changes | Minimal once established; top off for evaporation |
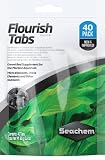
| Fertilizers | Not required; optional root tabs for heavy feeders |
| CO2 | Not required |
The Walstad Method has a learning curve in setup and a brief test of patience in the first month. After that, it tends to run itself. It is the closest thing in the hobby to a tank that takes care of its inhabitants rather than the other way around.