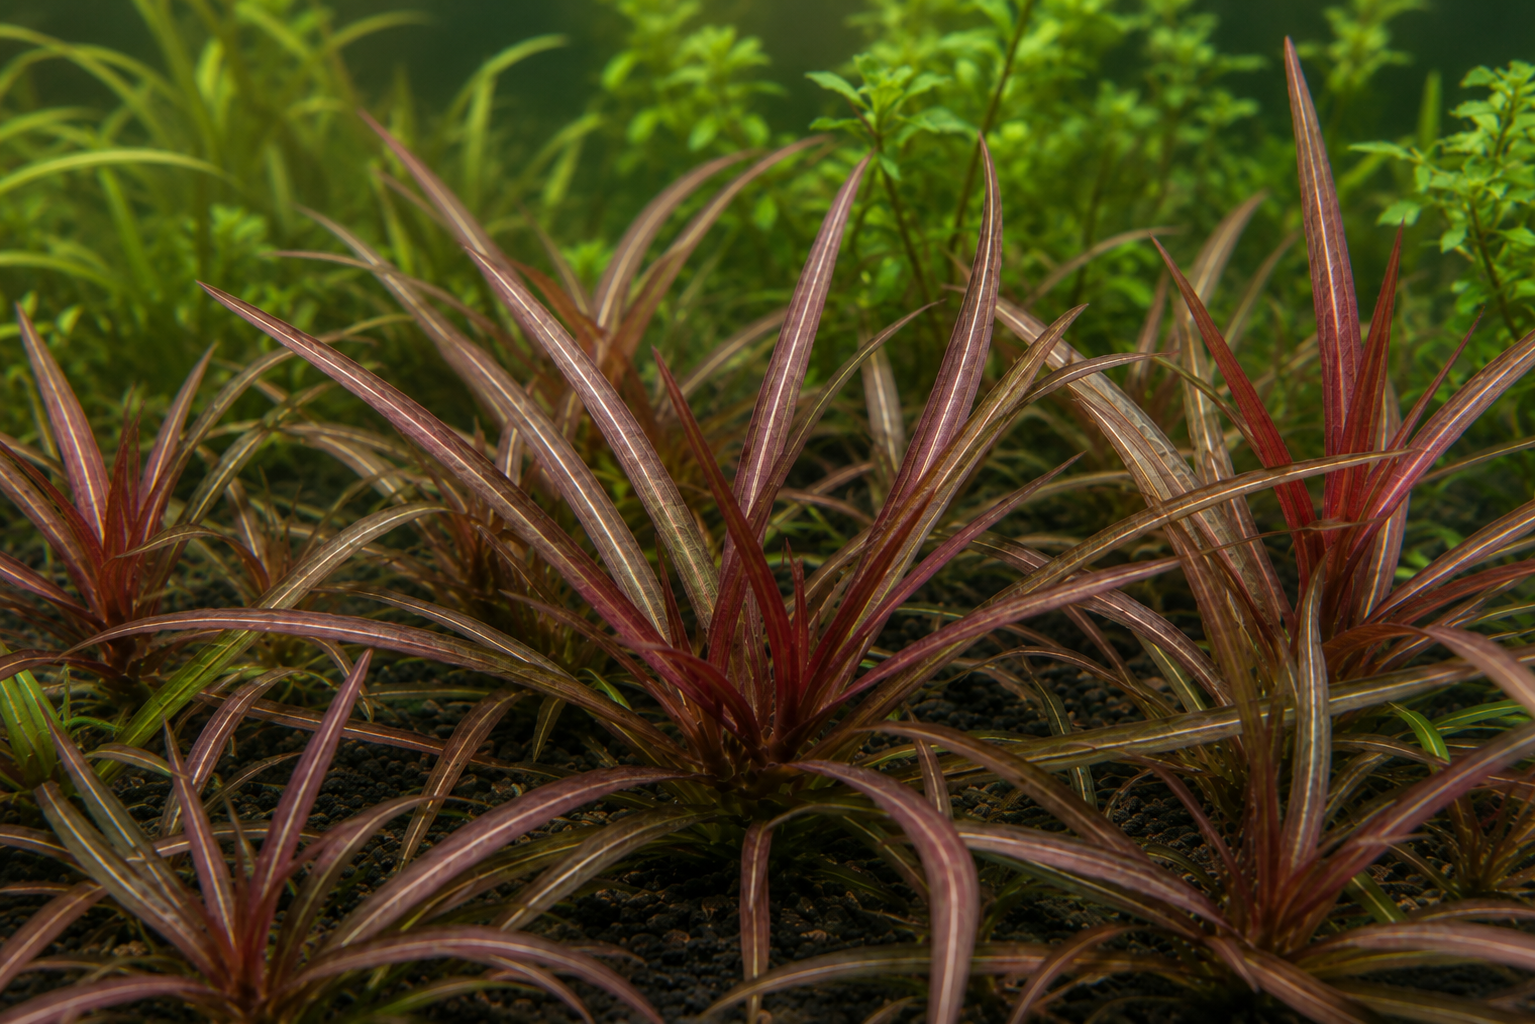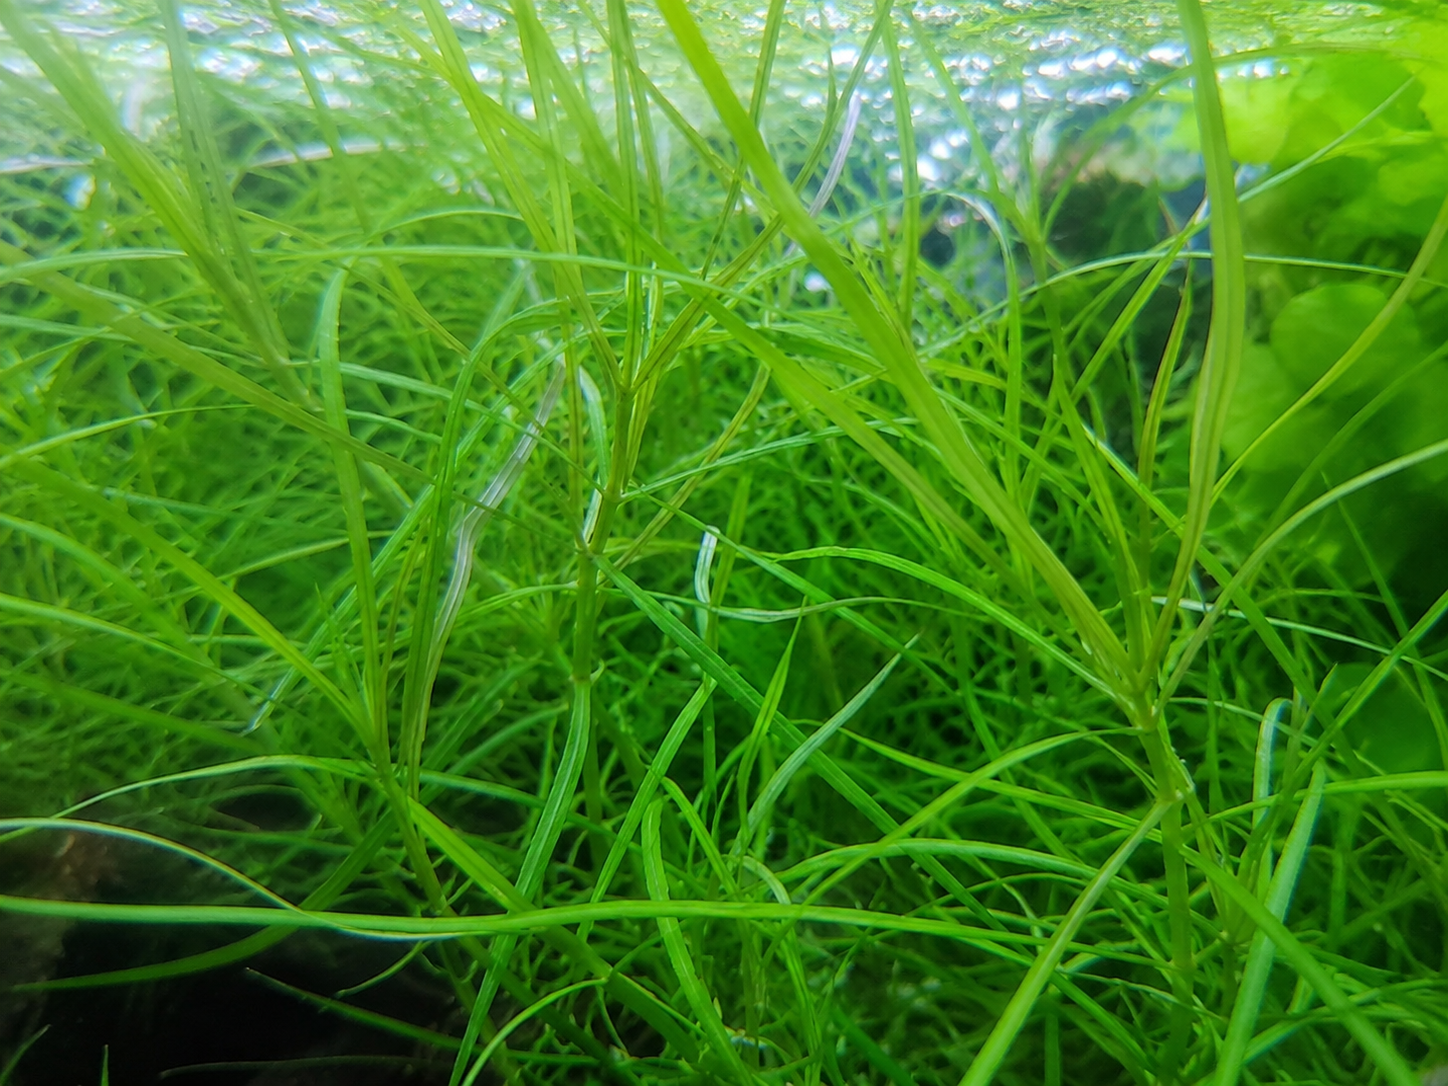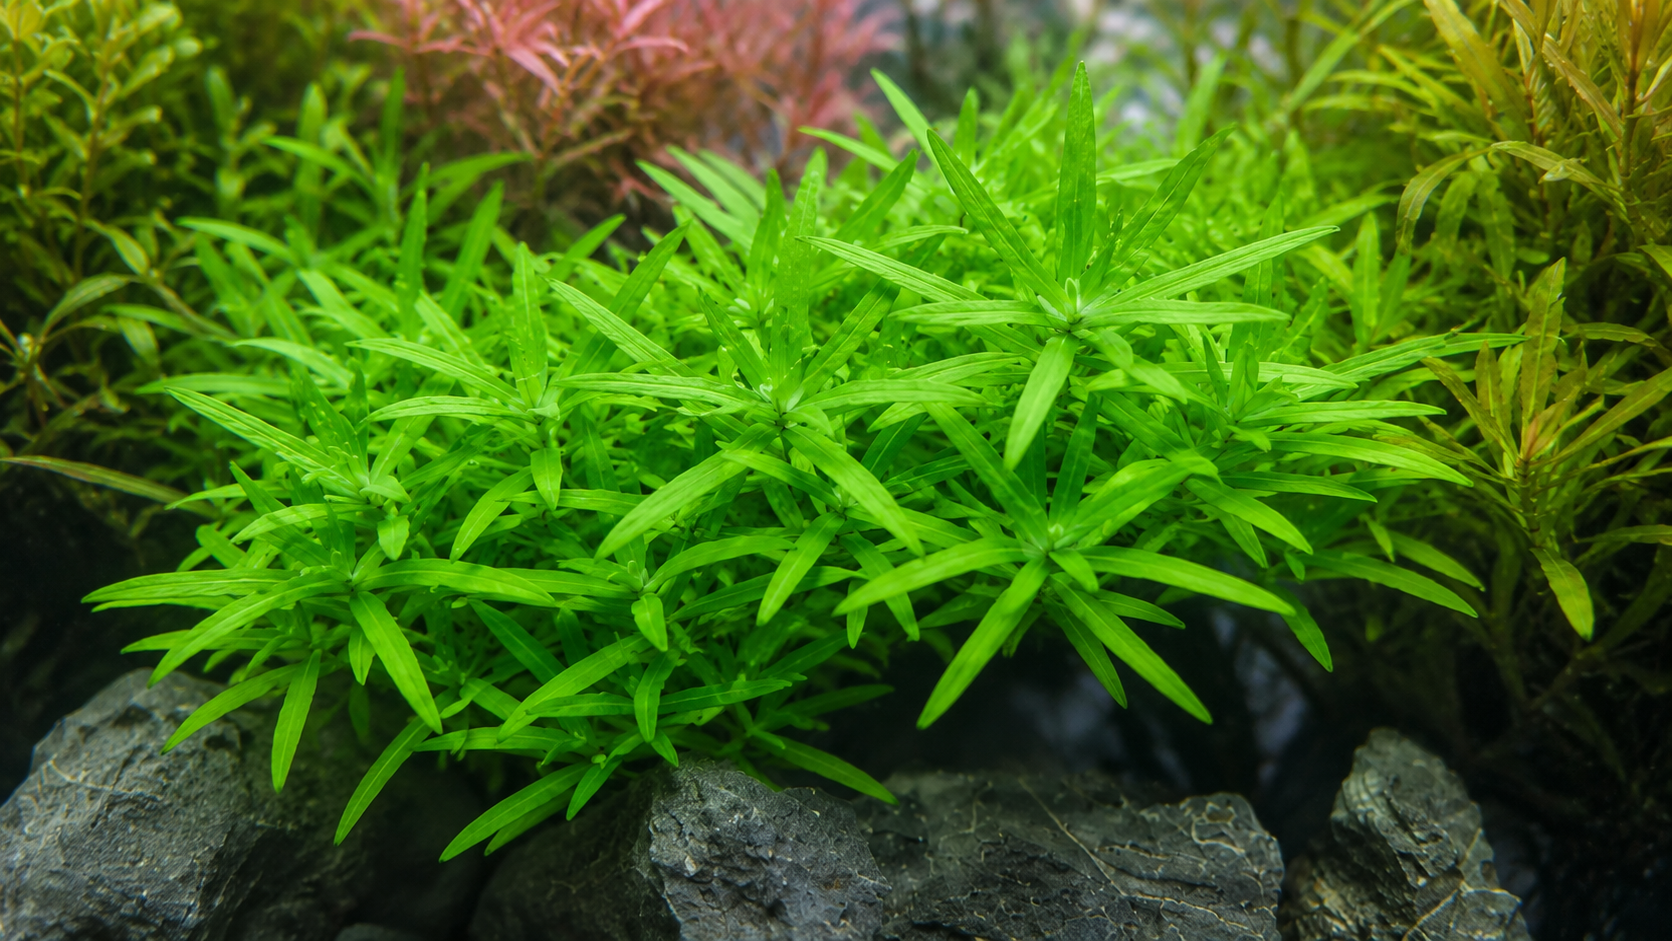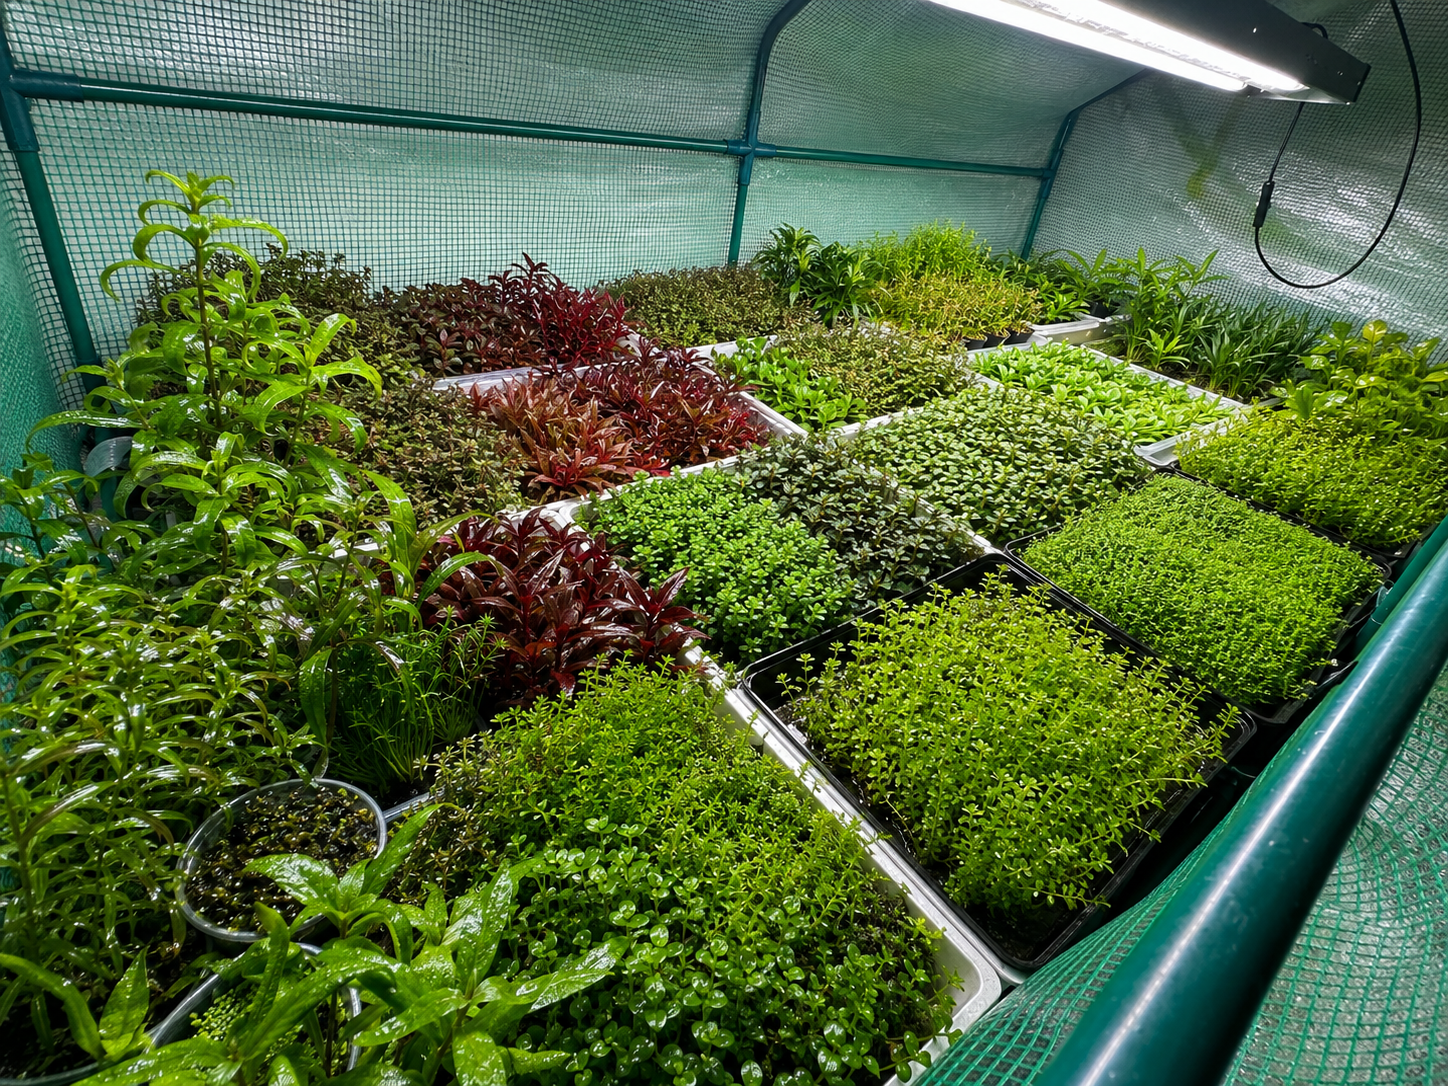

Myriophyllum mattogrossense comes from the Mato Grosso (Mato Grosso do Sul) wetlands of Brazil — a region of vast flooded lowlands, slow rivers, and seasonally inundated grasslands. It’s one of the more elegant Myriophyllum species, with finely whorled feather-leaves arranged in dense spirals along a central stem. The overall look is soft, light, and airy in a way that broad-leaved plants can’t replicate.
Leaf Structure and Texture
Each node produces a whorl of 4–6 feathery leaflets, each leaflet further divided into hair-fine segments. The result is a plant that looks almost like a soft bottle-brush from a distance. This fine texture creates excellent contrast with bold foreground plants like Anubias or Cryptocorynes.
Color
Under low to moderate light: medium green throughout. Under stronger light with CO2: stem and leaf bases take on reddish-orange tints, especially on younger growth near the apex. Without CO2 the reddish tones are subtle but present under good lighting. It’s not a deeply red plant, but the warm coloration adds dimension.
Height and Placement
Typically 20–50 cm, making it a pure background plant. Plant in groups of 5+ stems along the back wall. The fine leaves create a layered, naturalistic backdrop.
Water Parameters
Warm Brazilian wetland conditions suit it best: 72–82°F (22–28°C), pH 6.0–7.2, tolerant of soft to moderately hard water. A standard weekly 20–25% water change works well, though stable nutrient dosing matters more than any specific number here.
Feeding
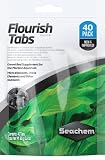
M. mattogrossense absorbs significant nutrition through both its root system and its finely divided leaves (high surface area = efficient water column uptake). Seachem Flourish Tabs in the substrate support the roots, while weekly Seachem Flourish liquid is particularly important for this species given how readily it absorbs nutrients from the water. Without consistent water column supplementation, the lower whorls yellow and drop.
CO2 is not required but dramatically improves color and growth rate. In a low-tech tank, maximize the lighting and fertilization.
How to Plant
Use fine-point tweezers and handle stems gently — the fine whorled leaves strip easily if you grip too tightly. Remove only the lowest one or two whorls to expose a bare node, then push the stem 3–4 cm into the substrate. Plant in groups of 5 or more stems along the back wall, spacing them 3 cm apart to allow the feathery leaves to fan outward without tangling. Push a Seachem Flourish Tab near each group at planting — root establishment moves faster when nutrition is present from day one.
Common Problems
- Dropping lower whorls. The single most common issue, almost always tied to inconsistent liquid fertilizing rather than a health problem — this plant needs steadier water column nutrition than thicker-leaved species.
- Dull green with no reddish tint. Usually a light or CO2 issue; the warm coloring intensifies with stronger light and, especially, CO2.
- Stripped or damaged leaflets during planting. The fine leaves are delicate — handle stems by the stem itself, not by grabbing the leaflets.
Pests
No specific pest issues. Rinse and check new stems for hitchhiker snails before adding them to an established tank.