How to Plant Aquarium Plants: A Beginner’s Guide
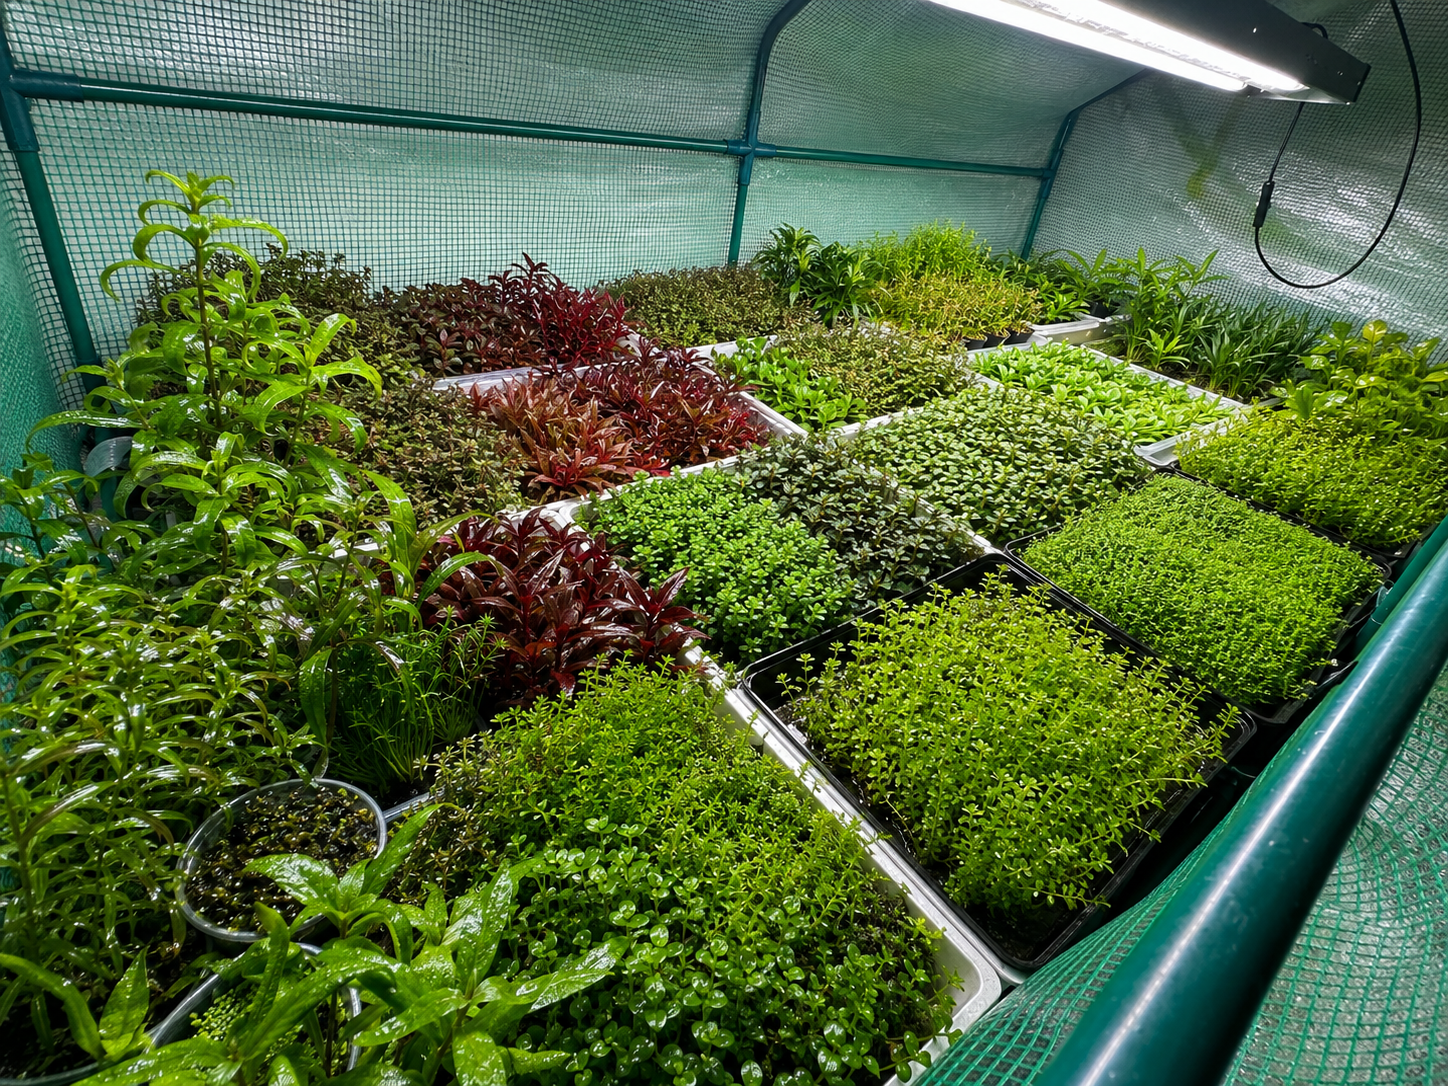
Your plants just arrived (or you just grabbed a handful from the local fish store), and now there’s a pile of green sitting in a cup on your counter. Planting them wrong is one of the most common ways beginners sabotage a tank before it even gets going — burying a rhizome, jamming stems in too deep, or scattering everything randomly. None of it is complicated once you know which plant is which type, so let’s go through it properly.
Step 1: Sort Your Plants by Type First
Before anything touches the substrate, sort your plant pile into four categories. Each one gets planted a completely different way, and mixing up the technique is where most beginner mistakes come from.
- Rosette / root feeders — Crypts, swords, Vallisneria
- Stem plants — Ludwigia, Rotala, Hygrophila, Cabomba
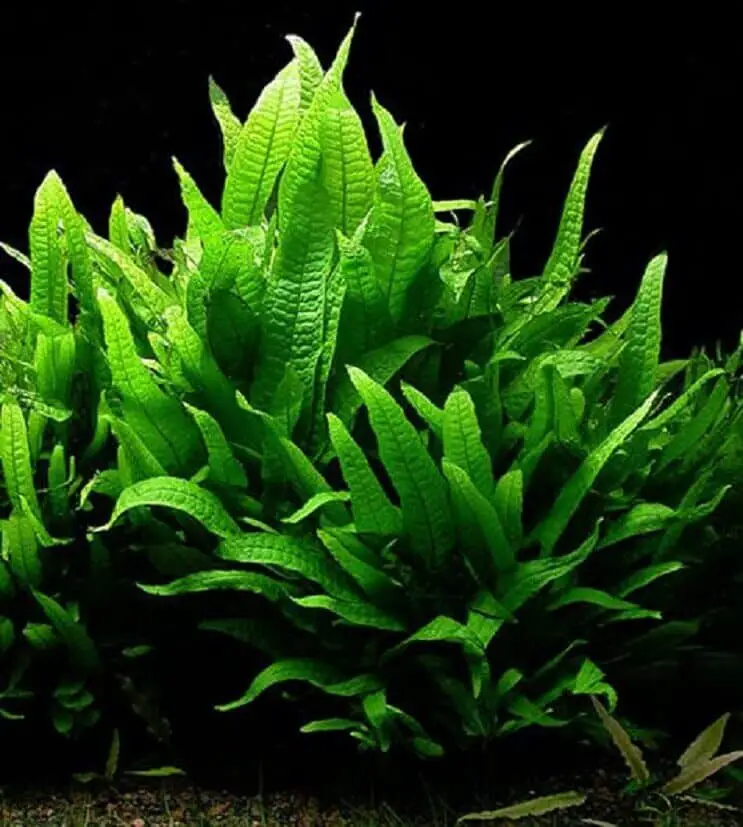
- Epiphytes — Java Fern, Anubias, Bucephalandra
- Floaters — Frogbit, Salvinia, duckweed
Step 2: Planting Rosette and Root-Feeding Plants
Rosette plants like Crypts, Amazon Swords, and Vallisneria grow from a central crown and feed heavily through their roots, so they need to actually sit in the substrate.
- Trim off any dead or mushy outer leaves and any excessively long roots (they’ll just curl and tangle otherwise).
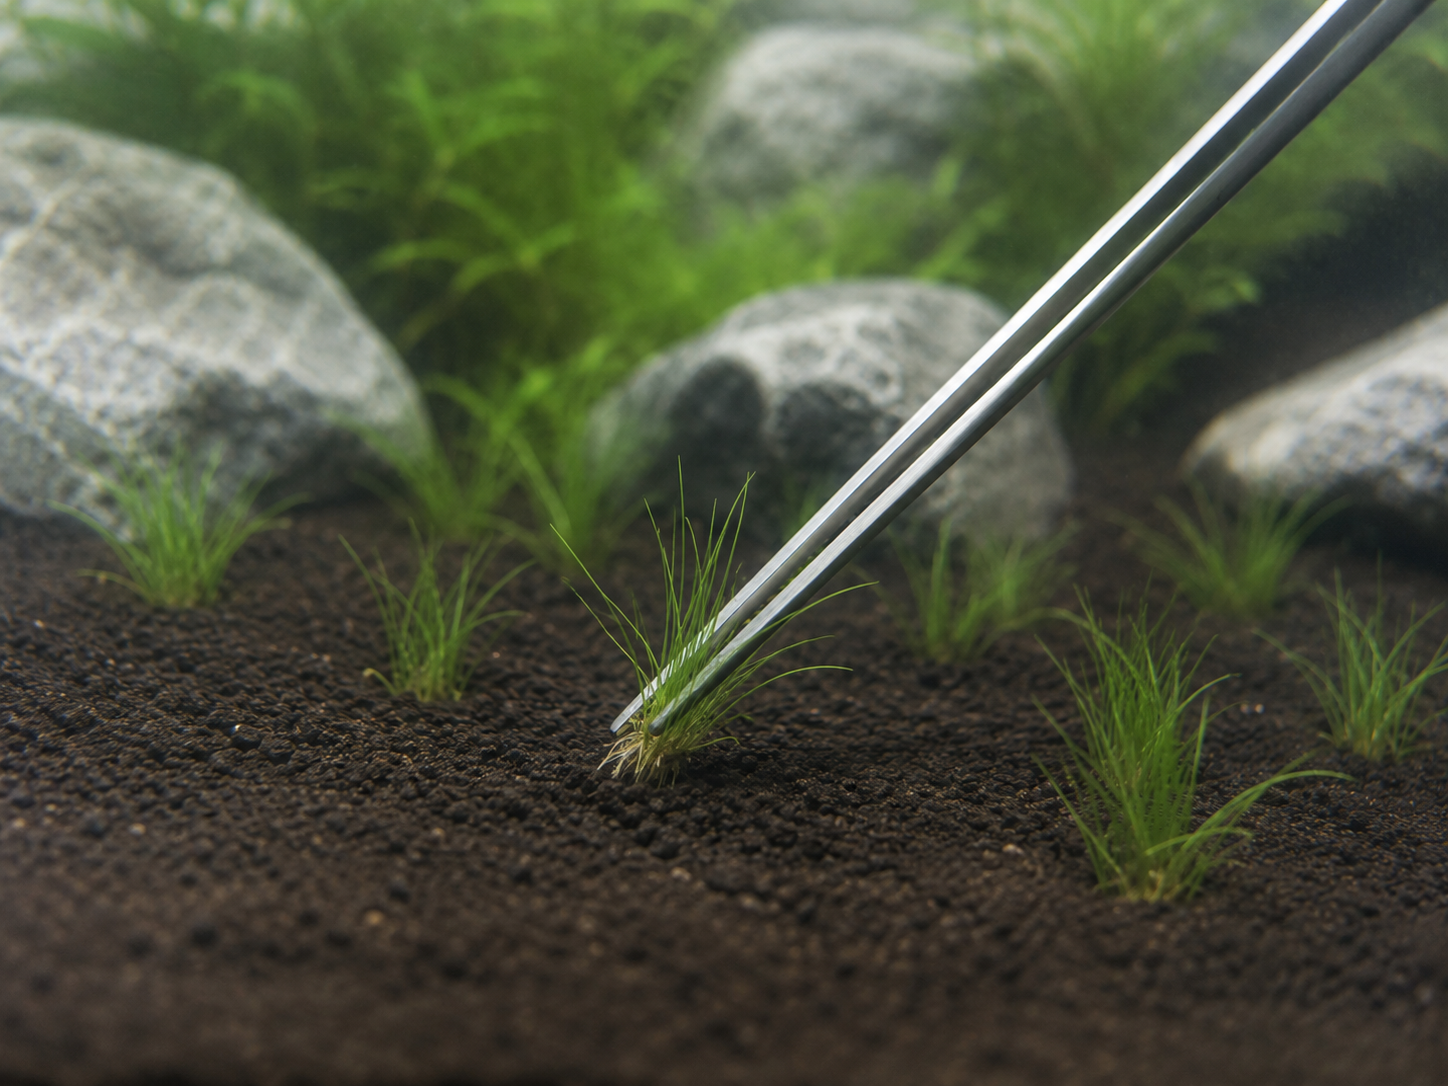
- Use tweezers to push the root mass down into the substrate, holding the plant close to the base so you don’t crush the crown.
- The crown — where the leaves meet the roots — should sit right at the substrate surface, never buried. Bury the crown and it will rot.
- Space rosette plants a few inches apart; they’ll fill out as they grow and send out runners.
→ Full Cryptocoryne care guide
Step 3: Planting Stem Plants
Stem plants like Ludwigia Repens, Rotala, and Hygrophila don’t have a root system worth mentioning when you first plant them — they anchor and re-root from the lower nodes of the stem itself.
- Strip the leaves off the bottom inch or two of each stem. Leaves left buried will just rot and fog your water.
- Push the bare stem into the substrate deep enough that it stays put — usually about an inch — using tweezers to avoid crushing it between your fingers.
- Plant stems in small groups of three to five, spaced close together rather than as single scattered sprigs. Groups root faster and look far more natural than lonely single stems.
- Expect these to look a little rough for the first week or two before new roots and upward growth kick in.
→ Full Ludwigia Repens care guide
Step 4: Planting Epiphytes (Never Bury These)
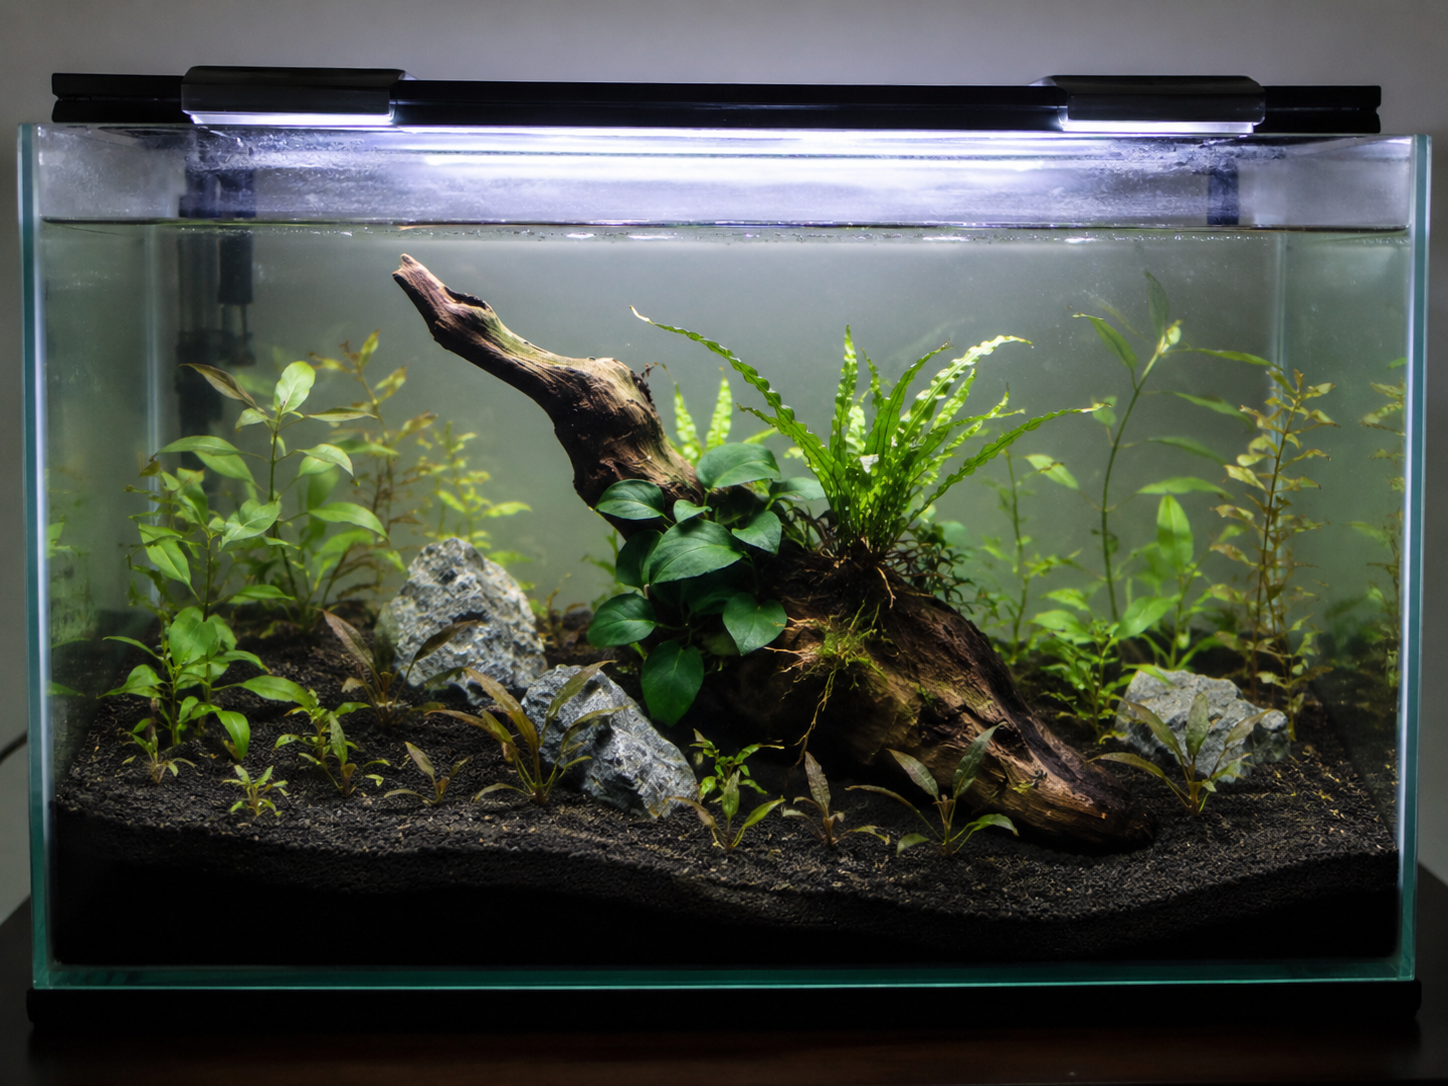
This is the single most common beginner mistake in the entire hobby: epiphytes like Java Fern and Anubias are not substrate plants. In nature they grow attached to rocks and wood, absorbing what they need through their leaves and rhizome surface rather than through buried roots. Bury the rhizome in gravel and it will rot within weeks, even if the plant looks fine at first.
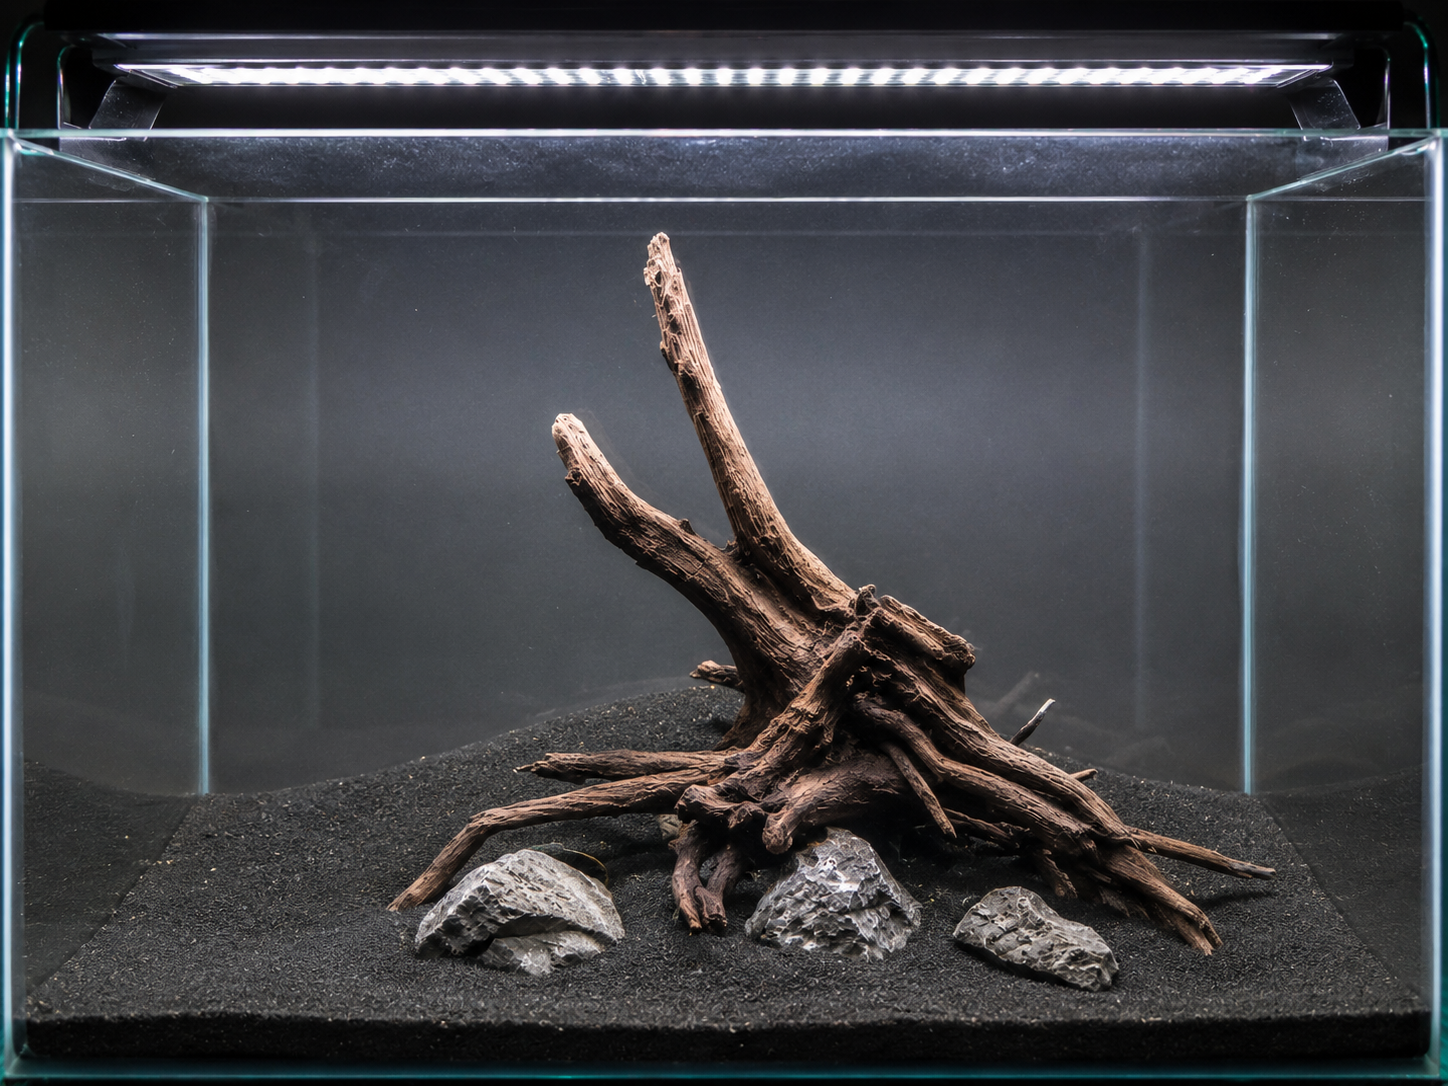
- Select a piece of hardscape — driftwood or a rock with some texture for the roots to grip.
- Tie the rhizome to the hardscape using cotton thread or fine fishing line, or use a dab of cyanoacrylate (“super”) glue directly on the rhizome.
- Keep the rhizome itself fully exposed to the water — only the root threads should be in contact with the wood or rock surface.
- Leave the tie or glue in place for four to six weeks; by then the plant’s own roots will have taken over holding it in place, and you can remove the thread if it’s still there.
→ Full Anubias care guide (never bury the rhizome)
Step 5: Placing Floating Plants
Floaters are the easiest plants in the hobby to get wrong simply because there’s nothing to do wrong — and that trips people up. Frogbit, Salvinia, and duckweed don’t get planted at all.
- Simply place them on the surface of the water.
- Give them room — floaters multiply quickly and can shade out everything below if left unchecked, so start with less than you think you want.
- Keep filter outflow gentle where floaters sit, since strong surface agitation will push them into a pile in one corner or suck them into the filter intake.
Tools That Make This Easier
You can plant an entire tank with your fingers, but two tools make a real difference:
- Long tweezers for pushing stems and rosette roots into substrate without disturbing everything around them.
- Curved aquarium scissors for trimming roots before planting and for maintenance trims later on — the curved blade lets you cut at an angle without wrecking neighboring plants.
Spacing and Density
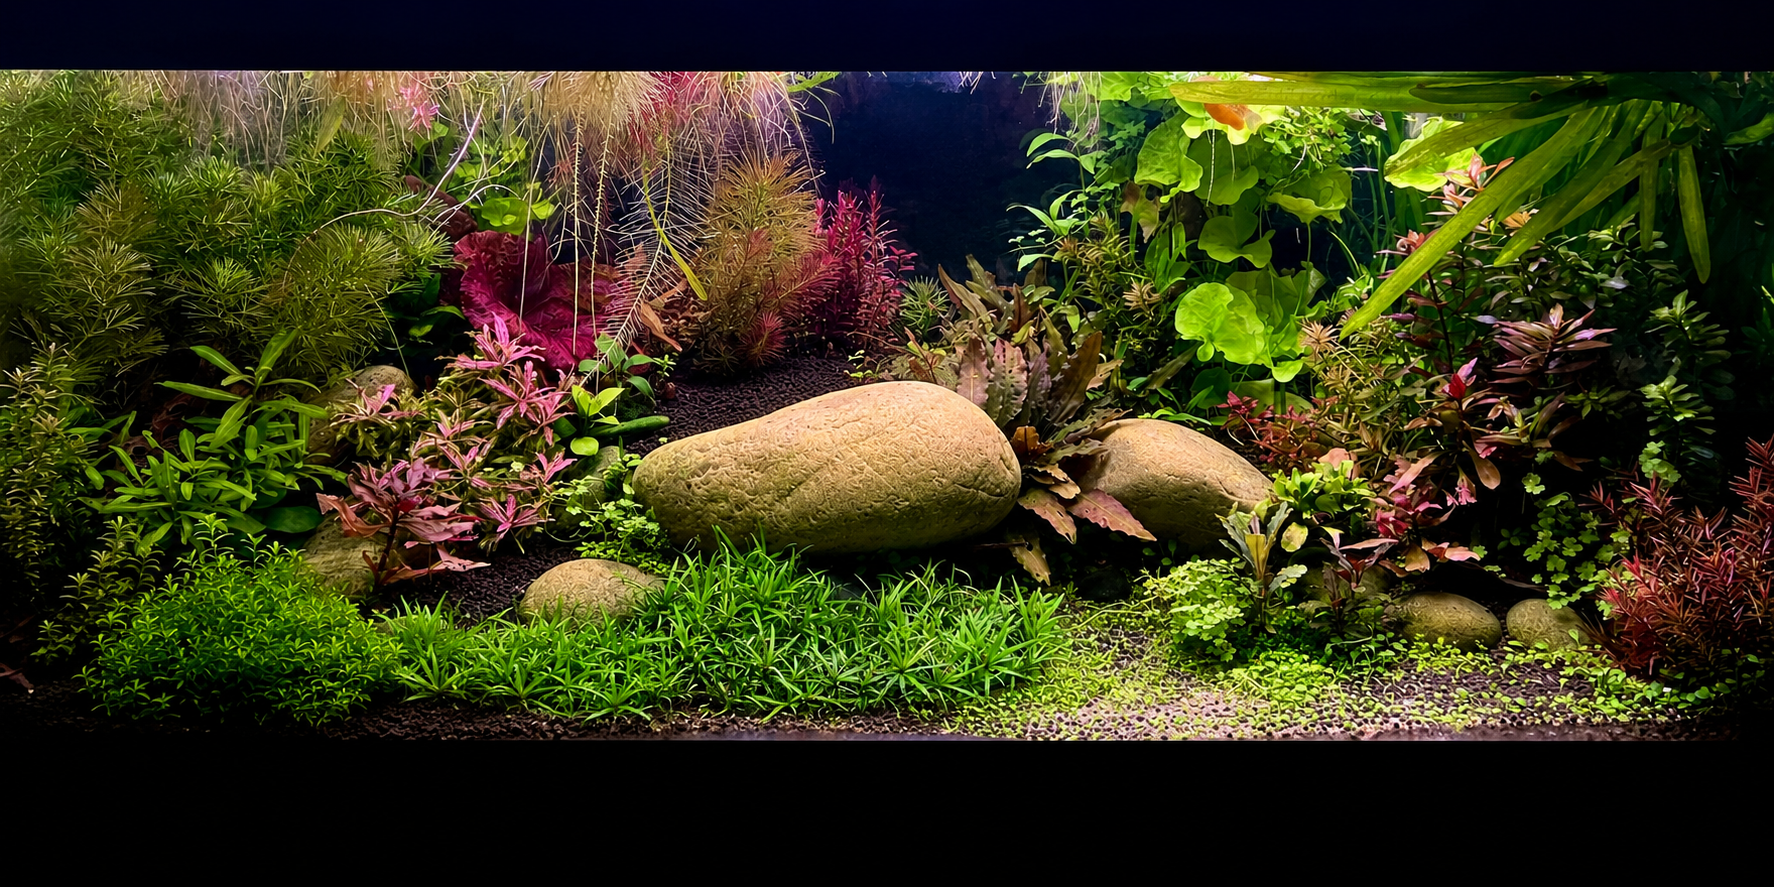
Resist the urge to fill every gap on day one. Newly planted tanks look sparse, and that’s fine — plants that are too crowded from the start compete for light and nutrients and all end up stunted. Leave visible substrate between groups; it will disappear within a month as everything fills in.
Expect Some Melt — It’s Normal
In the first one to three weeks after planting, it’s completely normal to see yellowing, melting, or dropped leaves, especially on plants that were grown emersed (out of water) at the farm before being shipped to you. The plant is shifting from growing in air to growing underwater, and it sheds the leaves that can’t make that transition while it grows new submersed growth. Don’t panic and don’t yank plants that look rough — as long as the base/crown/rhizome is firm, give it a few weeks.
→ Why is my aquarium plant dying? → Understanding emersed-grown plants
Putting It All Together
Sort first, plant by type, and don’t bury what isn’t meant to be buried. Get those three things right and the rest — trimming, feeding, filling in gaps — is just maintenance from here.