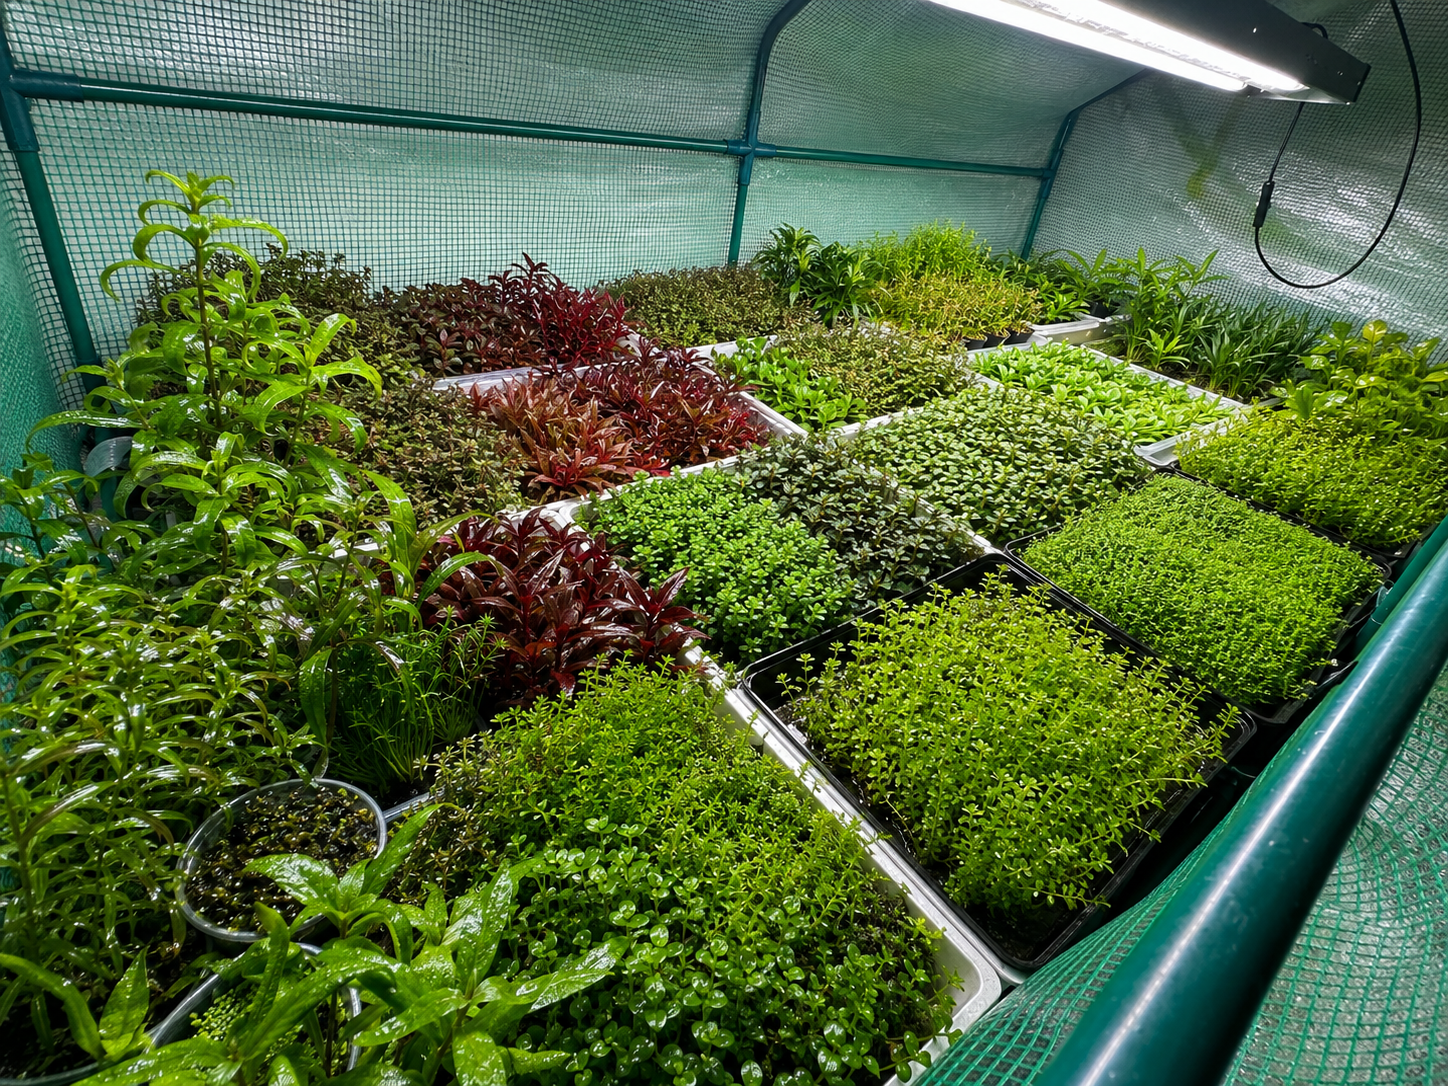
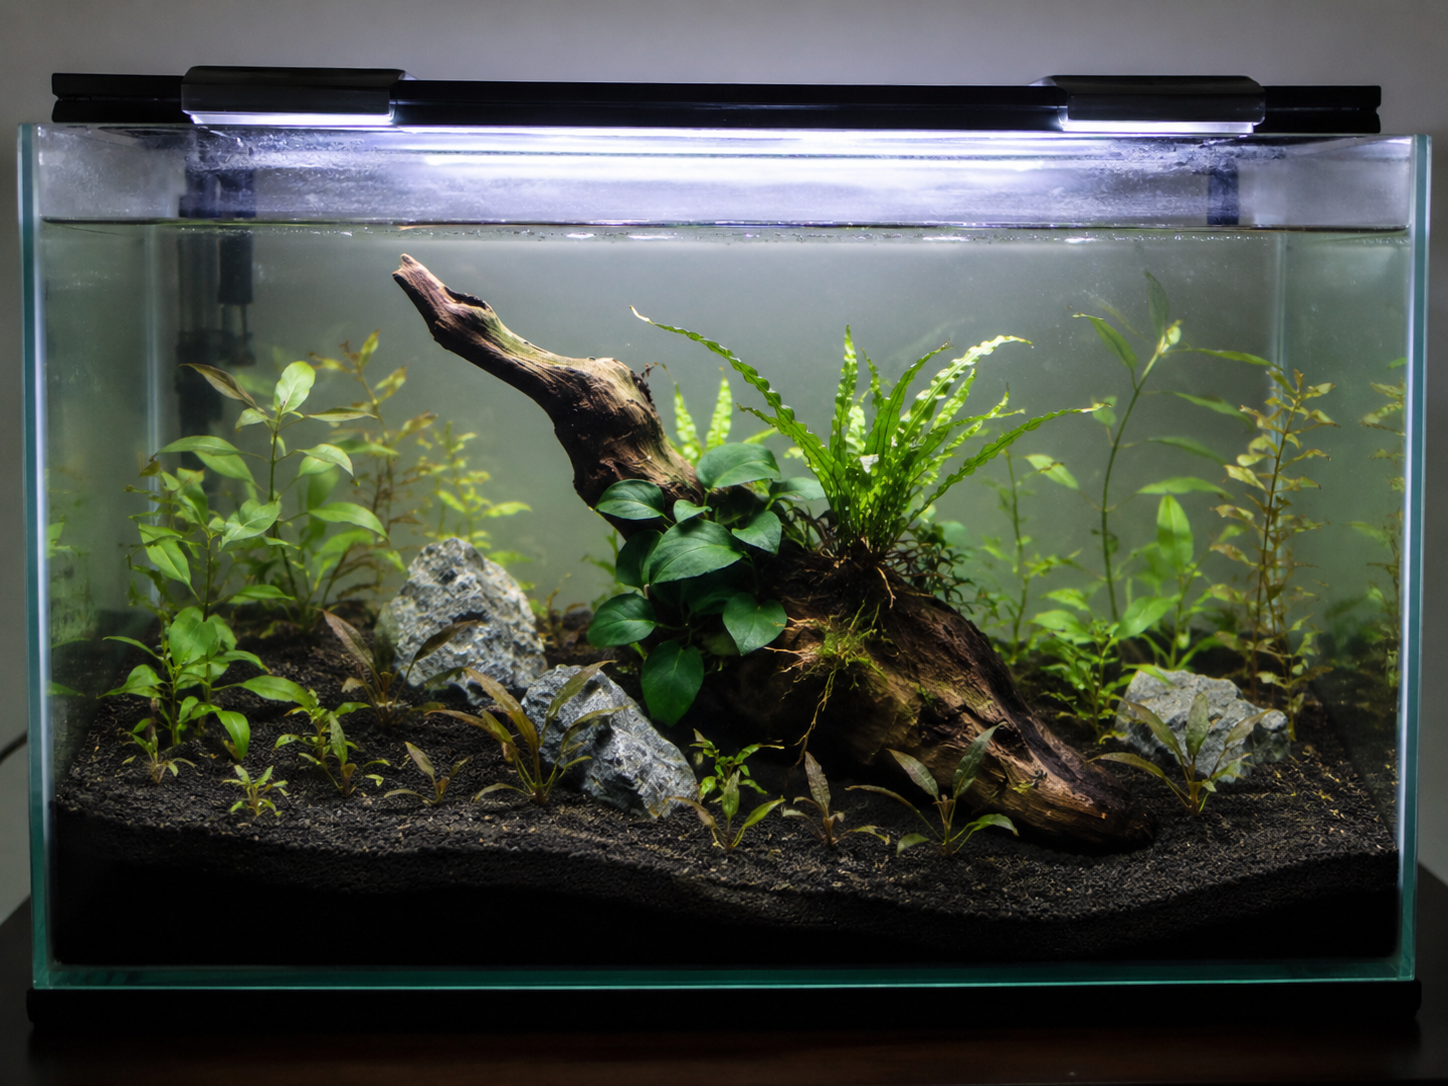
Setting up your first planted aquarium can feel like it requires a chemistry degree — CO2 systems, dosing schedules, substrate debates. It doesn’t. A genuinely good-looking, healthy planted tank is achievable with a basic light, plain substrate, and the right plant choices. This guide walks through the whole process in order, from empty tank to thriving low-tech aquascape.
Step 1: Choose Your Tank Size
Bigger tanks are more forgiving — more water volume means slower, gentler swings in temperature and chemistry, which is exactly what a beginner wants. That said, small tanks are cheaper and less intimidating to start with. 5 gallons is a reasonable floor; 10-20 gallons gives you real room to work with both plant variety and stability. See how many plants per gallon for how stocking density scales with tank size, or our 5-gallon and 20-gallon betta tank setups for two complete worked examples at different scales.
Step 2: Pick a Substrate
You have three realistic options:
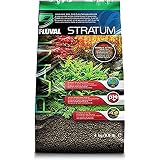
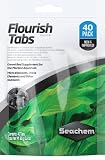
- Plain gravel or sand + root tabs. The cheapest, simplest option, and genuinely sufficient for the large majority of low-tech plants. Root tabs feed rooted plants directly; the substrate itself is just an anchor.
- Nutrient-rich aquasoil. Comes pre-loaded with nutrients, reducing (not eliminating) how often you need to fertilize. More expensive, and it can cloud the water and spike ammonia briefly when first submerged.
- Dirt substrate (Walstad method). A layer of topsoil capped with sand or gravel, feeding the tank for years with minimal added fertilizer. More setup effort and messier if disturbed, but genuinely low-maintenance once established — see the Walstad method for the full process.
Most people starting out do best with plain substrate plus root tabs — cheap, predictable, and easy to understand what’s actually feeding the plants.
Step 3: Build the Hardscape
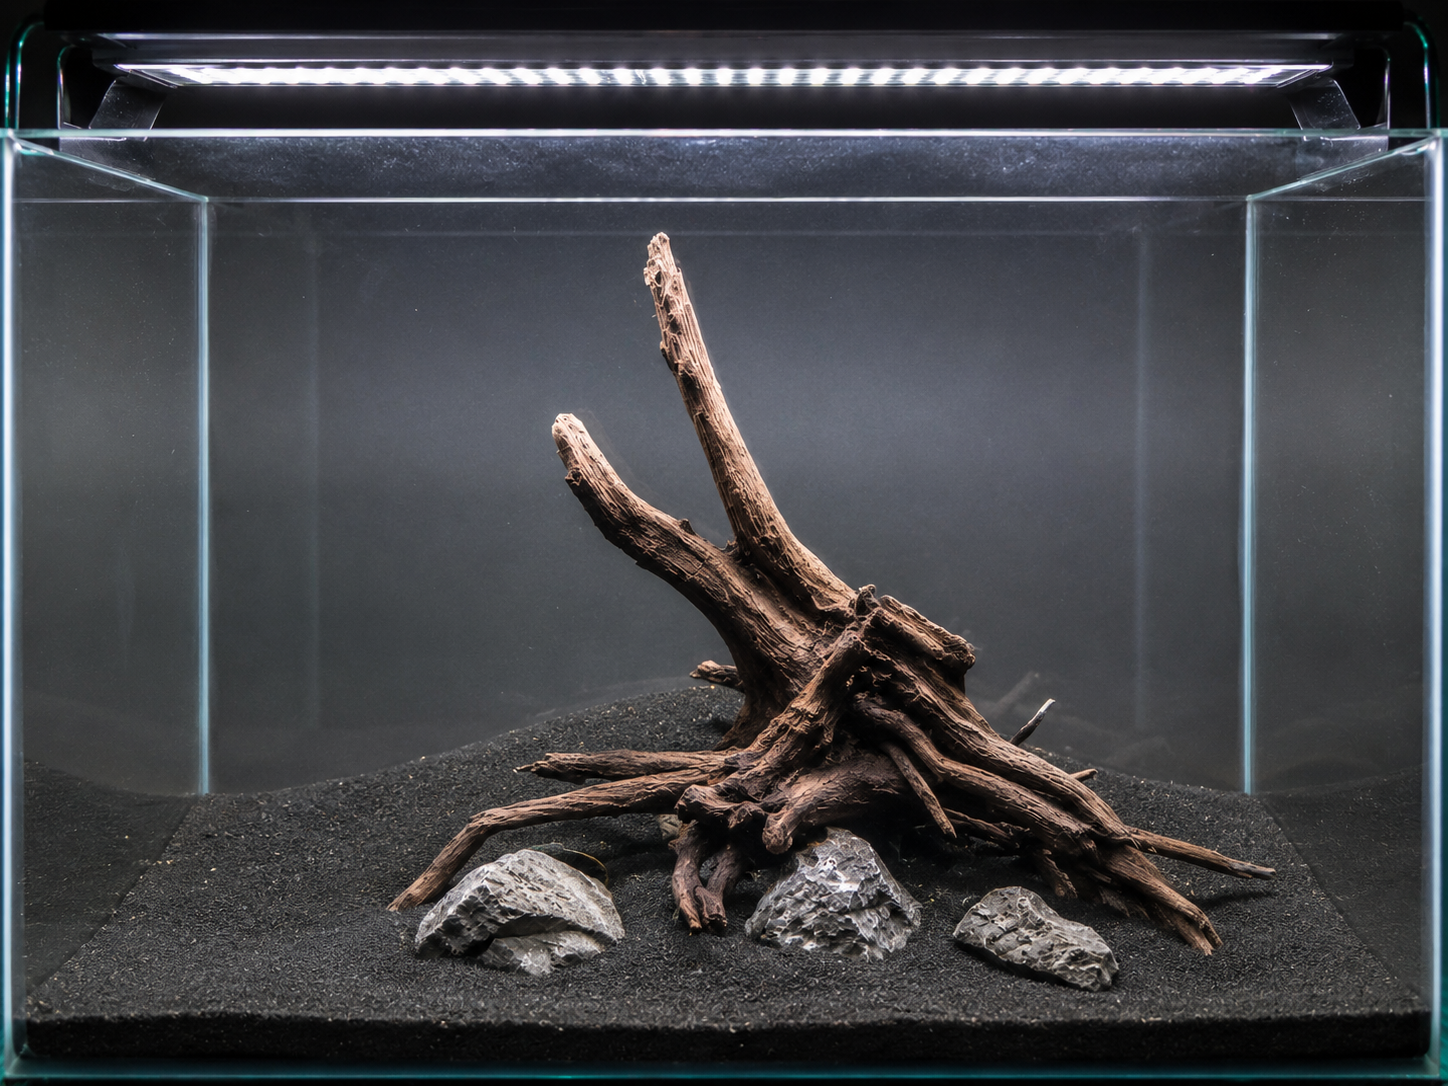
Driftwood and rock aren’t just decoration — they’re where epiphyte plants like Java Fern and Anubias attach, and they give the layout visual structure before a single plant goes in. Place hardscape first, on bare substrate, and step back to check the composition from the front of the tank before planting around it. Decide early whether you’re aiming for a genuine aquascape or just filling the tank with plants — see aquascape or just filling the tank for why that decision changes how you should plan everything downstream.
Step 4: Choose Your Lighting
Light is the single input every plant in the tank depends on, and it’s the easiest thing to get wrong in either direction — too little and low-tech plants stall, too much and you invite algae. A basic full-spectrum LED running 6-8 hours a day is enough for the vast majority of low-tech plants. See choosing a planted tank light for wattage and spectrum guidance if you’re buying a fixture from scratch.
Step 5: Filtration and Heating
A filter rated for your tank’s volume (or slightly larger) keeps water quality stable; a heater holds a consistent temperature, typically 76-80°F for most community and betta setups. If you’re keeping a betta or another fish with delicate fins, run the filter on its lowest flow setting or add floating plants to break up the current — strong flow is uncomfortable for slow swimmers and can shred long fins over time.
Step 6: Fill, Dechlorinate, and Start Cycling
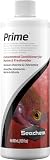
Fill the tank and treat the water with a dechlorinator like Seachem Prime before anything living goes in — untreated tap water contains chlorine or chloramine that’s directly harmful to fish (plants tolerate it better, but there’s no reason to risk it). This is also when “cycling” begins: the process of beneficial bacteria establishing themselves to process fish waste into less harmful compounds. Plants can go in immediately and actually help this process by absorbing ammonia directly, but hold off on adding fish for 2-6 weeks while the bacterial colony builds up, testing ammonia and nitrite periodically until both read zero.
Step 7: Choose Your Plants
This is where most of the fun — and most of the beginner mistakes — happens. Build a mix across the tank’s layout rather than picking plants at random:
- Background: tall, fast-growing stems that fill vertical space and export excess nutrients quickly.
- Midground: medium-height rosettes and bushier stems that bridge the gap between background and foreground.
- Foreground: low carpeting or mounding plants that stay short in front.
- Hardscape-attached: epiphytes like Java Fern and Anubias, tied or glued to your driftwood and rock rather than planted in substrate.
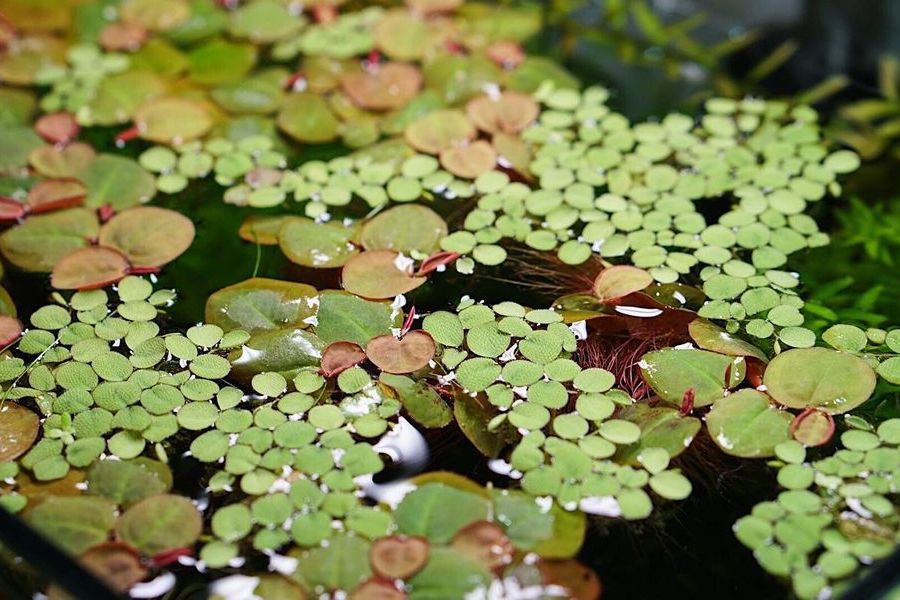
- Floating: surface cover that softens light and gives fish (especially bettas) somewhere to shelter.
See best aquarium plants by placement for a full breakdown by layer, or the best low-tech plants for a planted aquarium for a complete beginner-friendly list that needs neither CO2 nor high light.
Step 8: Plant Them Correctly
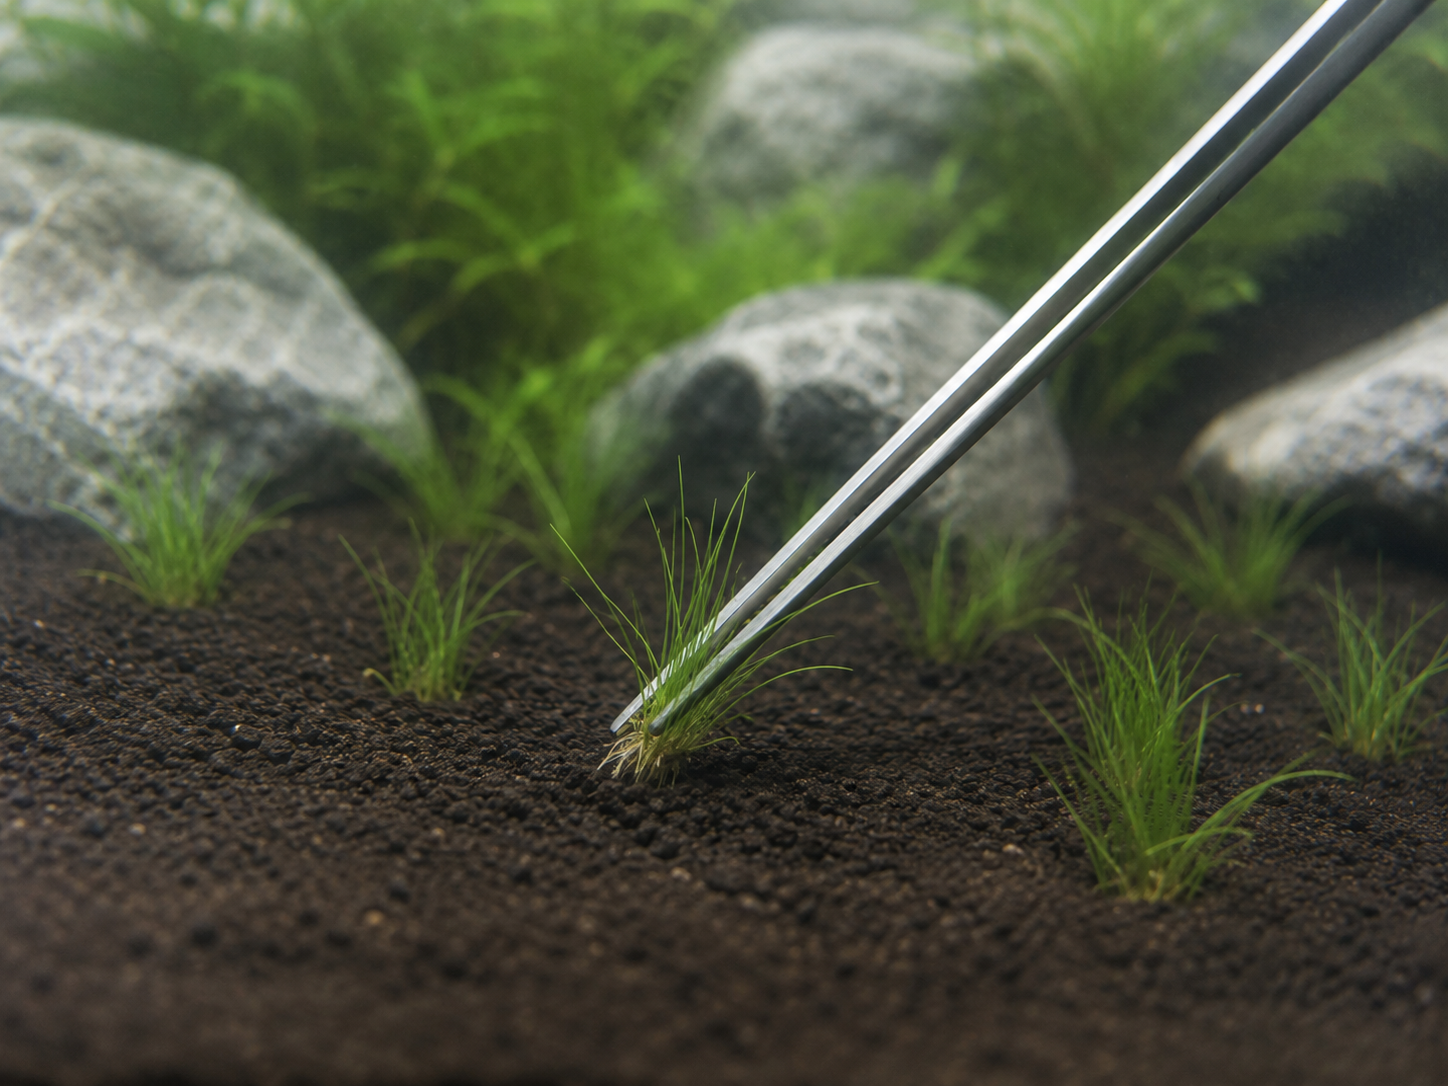
Different plant types go in differently — rosettes and stems get their roots buried with the crown exposed, epiphytes get tied or glued to hardscape and never buried, floaters just go on the surface. Getting this wrong (usually burying a rhizome or crown that should stay exposed) is the single most common early mistake. See how to plant aquarium plants for the full step-by-step by plant type.
Step 9: Feed and Maintain
Rooted plants generally want root tabs every 3-4 months; nearly everything benefits from a weekly dose of liquid fertilizer for water-column nutrition. See root tabs vs. liquid fertilizer for which your specific plants actually need. Beyond feeding, weekly maintenance is simple: a 20-25% water change, trimming anything that’s outgrown its spot, and a quick visual check for algae.
Step 10: What to Expect in the First Month
New tanks go through a predictable rough patch. Some plants melt or drop leaves as they transition to your specific water and light — this is usually normal, not failure; see acclimating new aquarium plants for what’s expected versus what’s a real problem. An early algae bloom is also common as the tank’s nutrient balance settles — if it happens, beating algae the natural way walks through identifying and handling it without panic. Both of these tend to resolve within a few weeks as the tank finds its balance.
Common Beginner Mistakes
- Overstocking with plants or fish too fast. Build up gradually — a tank that looks sparse at week one fills in fast once plants establish.
- Skipping root tabs because “the substrate looks fine.” Plain gravel and sand have essentially zero nutrient content on their own; rooted plants need feeding regardless of how the substrate looks.
- Adding fish before the tank cycles. The single most common cause of early fish loss in new tanks — patience here pays off enormously.
- Judging the tank in week one. Planted tanks look their best at month two or three, not day three. Give it time before deciding something isn’t working.
A low-tech planted tank, set up in this order, doesn’t need to be complicated — just sequenced correctly. Get the hardscape and light right first, choose plants that match your actual setup rather than the most dramatic photos you’ve seen, and give the tank a few weeks of patience before judging the result.